How to Compress HEIC Photos on iPhone Without Converting to JPEG
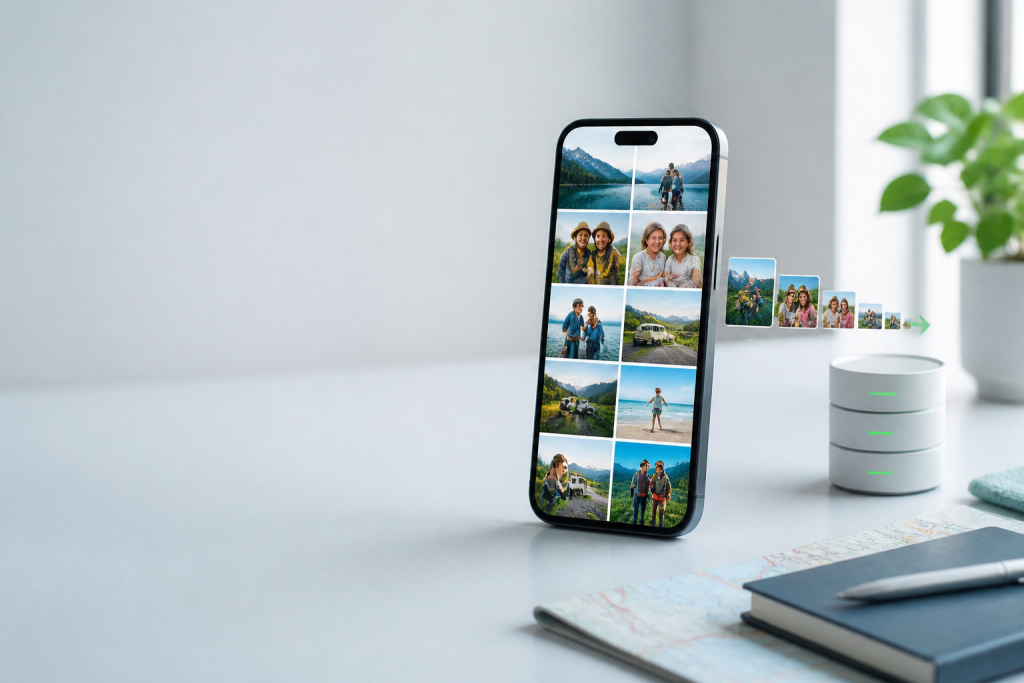
Short answer: keep the photos in HEIC, reduce either their dimensions or quality setting on-device, and verify the result before deleting the originals. Converting to JPEG is not required. The safest workflow is to make a copy, compress a small test batch, compare detail and file size, confirm that metadata is handled as intended, and only then process the rest of the library.
HEIC is useful because it can preserve good image quality at a smaller size than many JPEG exports. The trade-off is compatibility: some websites, older apps, and Windows workflows still expect JPEG. If your goal is storage reduction on an iPhone, preserve the HEIC format first and convert only the files that actually need wider compatibility.
What to check before compressing HEIC photos
- Originals: keep an untouched copy until you have checked the compressed files.
- Dimensions: decide whether the destination needs the camera’s full resolution or a smaller display size.
- Quality: use a balanced setting for everyday photos, then inspect faces, foliage, text, and fine edges.
- Metadata: decide whether dates, camera details, GPS, and other EXIF fields should remain.
- Compatibility: test one compressed HEIC in the app, site, or editor where it will be used.

HEIC compression versus JPEG conversion
| Choice | What changes | When it makes sense | Main caution |
|---|---|---|---|
| Compress HEIC | File size, dimensions, or quality setting | Freeing storage while keeping the modern format | Some older destinations may still reject HEIC |
| Convert to JPEG | Container and usually the encoding characteristics | A destination explicitly requires JPEG | May increase size or add a generation of quality loss |
| Resize only | Pixel dimensions and often file size | Sharing on screens, chat, or web pages | Do not overwrite full-resolution originals by accident |
How to compress HEIC photos on iPhone without converting them
- Collect a small test set. Pick several representative photos: a portrait, a landscape, a night image, foliage or fabric, and a photo with small text. A single easy landscape can hide compression problems.
- Make a working copy. Export or duplicate the test files into a separate folder or album. Keep the originals available until the output has passed your checks.
- Choose the output format. Set the output to HEIC or “keep original format” when the compressor offers that option. Do not choose an automatic “most compatible” setting if it silently changes the files to JPEG.
- Choose dimensions before quality. If the photos are only for a phone screen or a web upload, reducing dimensions can save more space than lowering quality aggressively. For prints, editing, or archival copies, keep the original dimensions and use a conservative quality setting.
- Use a balanced quality setting. Start in the middle rather than at the smallest-file option. Check skin tones, hair, leaves, gradients, shadows, and text at 100% zoom. If artifacts are visible, move one step toward best quality.
- Preserve or remove metadata deliberately. If dates and camera information help your library, keep them. If you are sharing outside your personal archive, review location and identifying metadata separately; smaller files are not automatically safer files.
- Run the test export locally. Prefer an on-device workflow when the photos are private or the network is unreliable. A local workflow also makes it easier to keep the input and output folders under your control.
- Compare the result. Check the file extension, dimensions, orientation, thumbnail, visual detail, metadata, and file size. Open the output in the app that will receive it. A file that looks correct in Photos can still fail in a web uploader.
- Process the full batch only after the test passes. Use a new output folder and a predictable name pattern. Keep a count of input and output files so a failed batch is obvious.

How much should you reduce?
There is no universal percentage that preserves every photo equally. A large, detailed landscape may tolerate a different setting from a night portrait or a screenshot containing text. Use a representative test set and record three things: total input size, total output size, and whether the files still satisfy their destination.
For sharing, a smaller dimension is often the least surprising adjustment. For editing, keep the camera dimensions and reduce quality modestly. For an archive, keep the originals and treat compressed copies as derivatives. Avoid a destructive “replace originals” operation until you have opened several outputs and confirmed that the metadata policy is correct.
Metadata and privacy checks
HEIC compression and privacy cleanup are separate decisions. EXIF may contain capture time, device details, orientation, and location. A compressor may preserve some fields, strip some fields, or offer a setting that controls them. Read the output metadata on a test file rather than assuming what happened.
For personal storage, retaining dates and orientation can make the library easier to manage. For public sharing, check whether location or other identifying fields should be removed. Also inspect the image itself: a visible address, badge, document, or license plate is not fixed by stripping EXIF.
Common problems and fixes
The output became JPEG
Look for a “format,” “compatibility,” or “export as” control. Select HEIC or keep-original-format explicitly. If the destination requires JPEG, convert a separate copy for that destination instead of changing your stored originals.
The file is smaller but looks worse
Restore the original and test a higher quality setting or larger dimensions. Inspect difficult areas at 100% zoom, especially hair, foliage, text, gradients, and dark shadows. A thumbnail preview is not enough to judge an output.
Photos rotated after export
Some tools store orientation in metadata rather than rotating the pixels. Open the output in more than one viewer and check whether the orientation survives. If a destination ignores orientation metadata, use a workflow that writes the correct pixel orientation into a copy.
Location data was retained unexpectedly
Check the compressor’s metadata option and inspect one output before sharing the batch. If privacy matters, make a separate share-ready copy with location and other unnecessary identifying fields removed.
The app cannot open the HEIC output
Confirm that the file is complete and that the extension matches the actual format. Test the same output in another compatible viewer. If the receiving system genuinely cannot accept HEIC, create a JPEG derivative for that system while keeping the compressed HEIC library copy.
A repeatable private workflow
- Back up the original library.
- Select a representative test batch.
- Keep HEIC as the output format.
- Choose dimensions and quality for the destination.
- Set the metadata policy explicitly.
- Export to a new folder or album.
- Verify count, size, dimensions, orientation, detail, and metadata.
- Process the remaining files and keep the originals until the result is trusted.
For a repeatable local workflow, Offline Image Compressor for iPhone is the relevant Bytesweavers product page. The important part of the workflow remains the same whichever tool you use: preserve the format when that is the goal, test representative files, and make privacy and compatibility explicit choices.
Frequently asked questions
Can I reduce HEIC file size without converting to JPEG?
Yes. Use a compressor that can write HEIC output and adjust dimensions or quality. Verify the extension and open a test file in the destination app before processing the full batch.
Does compressing HEIC remove metadata?
Not necessarily. Metadata handling varies by tool and setting. Check a test output for dates, orientation, camera details, and location rather than relying on the file size change.
Is it better to resize or lower quality?
Resize when the destination does not need full camera dimensions. Lower quality modestly when dimensions matter. For important originals, keep an untouched copy and create compressed derivatives.
Why do some websites reject HEIC?
Some uploaders and older applications support JPEG and PNG but not HEIC. Keep the HEIC archive, then create a JPEG copy only for the specific destination that requires it.

Writes guides and product notes for Bytesweavers.