
Short answer: converting DICOM images to PDF without uploading patient files requires four checks: select the correct series, review the rendered images, inspect identifying metadata, and verify the exported PDF before sharing. Use synthetic or authorized studies only, keep the original files unchanged, and follow your organization’s privacy policy.
What DICOM and PDF are each for
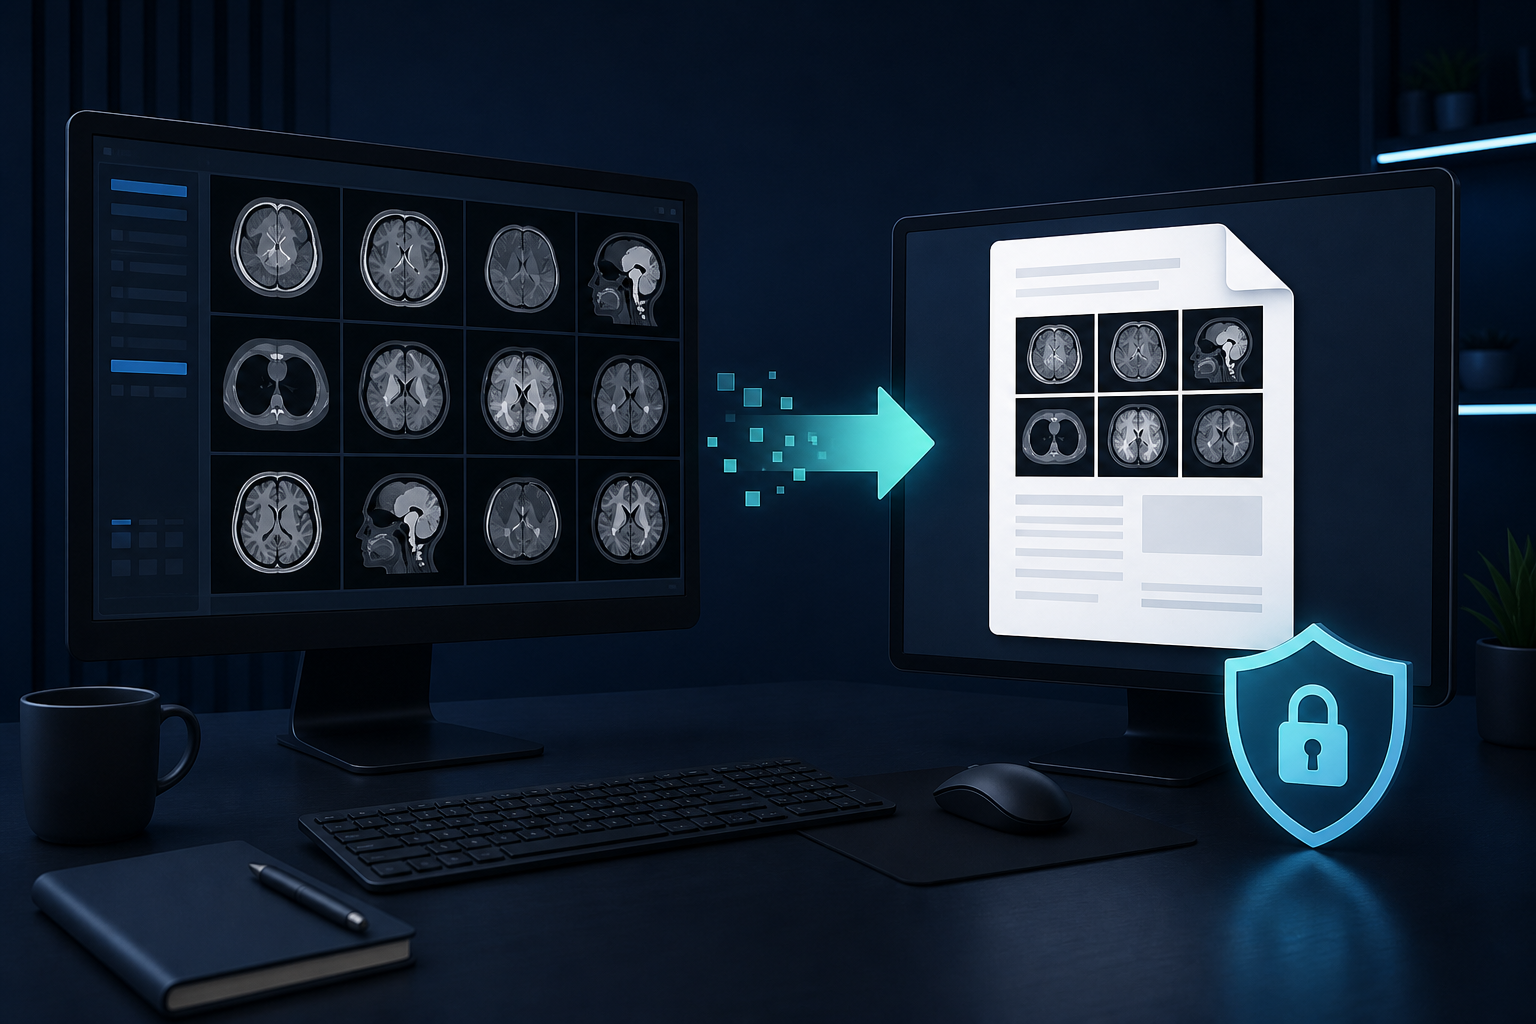
DICOM is a medical imaging standard that can store images, a study or series structure, and metadata. A PDF is a fixed document that is easier to review or send. The conversion is therefore more than “save image as PDF”: you choose which images and labels belong in the document, then decide what identifying information must be removed or retained for an authorized purpose.
A PDF export is not automatically de-identified. Patient names, IDs, accession numbers, dates, burned-in labels, and file metadata can all require separate review. Never use a public converter for real patient material unless it has been approved for that data.
Safe local workflow
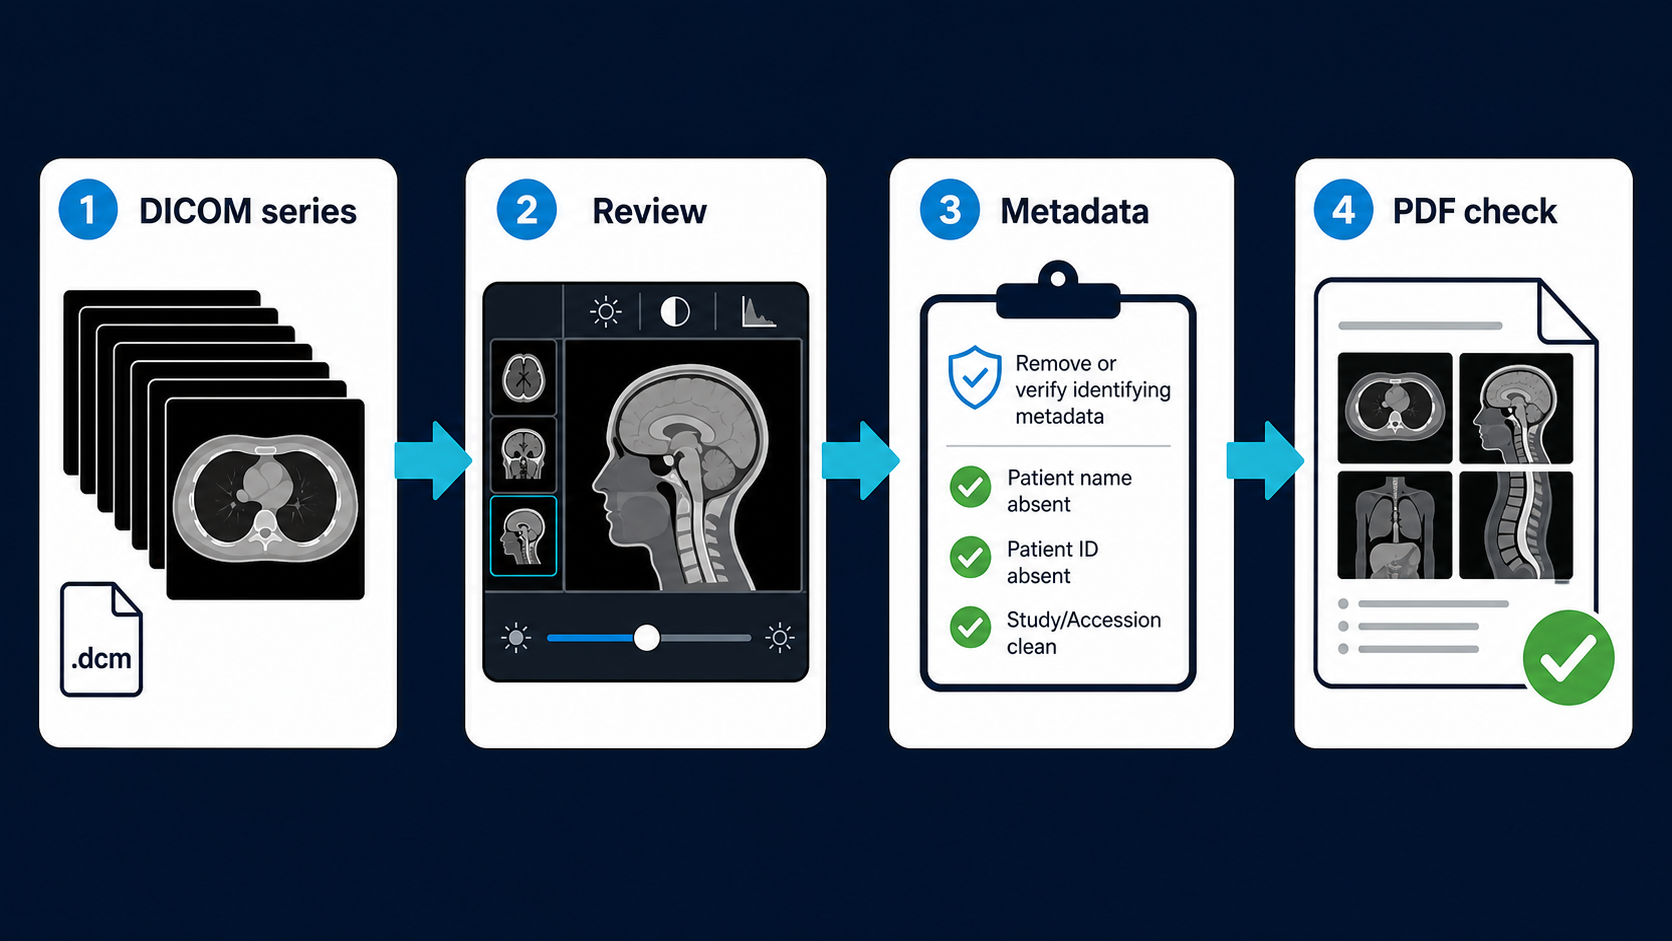
1. Work from a copy
Keep the original study in its controlled location and make a working copy for export. Use a folder with restricted access and a neutral filename. Do not put a patient name or identifier in the output filename if the PDF will leave the clinical system.
2. Select the right series
A study may contain multiple series: localizers, axial slices, reconstructions, scout views, or measurements. Confirm the body region, orientation, slice count, and acquisition date against the authorized request. Exporting every series can create a confusing PDF and may include images that were not intended for the recipient.
3. Review rendering before export
Check orientation markers, image order, window and level, scale, and any overlays. If the output needs a contact sheet, choose a grid that keeps the images readable. If a single image needs full detail, export it as a larger page or separate page rather than shrinking the entire series until labels disappear.
4. Inspect metadata
Review the DICOM tags that your workflow carries into the export. Depending on the use case, identifying fields may need to be removed or replaced according to an approved de-identification policy. Also inspect the visible pixels: a name or ID can be burned into the image even after the corresponding metadata field is cleared.
Do not guess at de-identification rules for regulated work. Use the organization’s approved profile, retain an audit record where required, and ask the data owner when the purpose or recipient is unclear.
5. Export the PDF locally
Choose page size, orientation, margins, image scale, and whether annotations or a study summary should appear. Prefer a setting that preserves enough resolution for the intended review. If the PDF is only a visual reference, say so; a PDF export should not be treated as a replacement for the original DICOM study or a diagnostic workstation.
6. Verify the result
Open the PDF on a separate pass and check the page count, image order, orientation, contrast, legibility, and filename. Search selectable text for names, IDs, accession numbers, and dates that should not be present. Zoom into corners and overlays for burned-in identifiers. Confirm the output is stored and shared through the approved channel, then remove temporary working files according to policy.
Export settings that affect the result
| Choice | What it changes | Practical check |
|---|---|---|
| Series selection | Which views appear in the PDF | Confirm body region, orientation, and slice order |
| Grid size | How many images fit on each page | Make sure the smallest image remains readable |
| Window and level | Visible contrast and detail | Review the rendered output, not only the thumbnail |
| Annotations | Markers, measurements, and overlays | Check that overlays are authorized and do not reveal identifiers |
| Metadata profile | What identifying fields are retained or removed | Run the approved policy and inspect the final PDF text |
Common mistakes
- Exporting the wrong series: use the series description and image orientation, not just the first thumbnail.
- Trusting metadata alone: visible labels can remain burned into pixels.
- Over-compressing the PDF: small text and subtle contrast can disappear.
- Overwriting the source: always work from a copy and keep the original untouched.
- Sharing a PDF as if it were DICOM: PDF is a document export; it may not retain the study structure or diagnostic properties of the source.
Frequently asked questions
Can I convert DICOM to PDF without an internet connection?
Yes. A desktop workflow can render the series and create the PDF locally. The important part is verifying that the application does not upload files, telemetry does not contain sensitive paths or data, and temporary files are handled according to policy.
Does converting DICOM to PDF remove patient information?
No. Conversion alone does not guarantee de-identification. Review both DICOM metadata and visible pixels, and use an approved de-identification process when required.
Should the original DICOM files be deleted after export?
Usually not as part of an ad-hoc conversion. Retention and deletion are governed by the record owner and applicable policy. Keep the original in its controlled system and delete only temporary copies when authorized.
Bottom line: a reliable private export is a verification workflow, not just a file-format change: select the correct series, render it carefully, check metadata and visible labels, and inspect the final PDF before it leaves the approved environment.
