
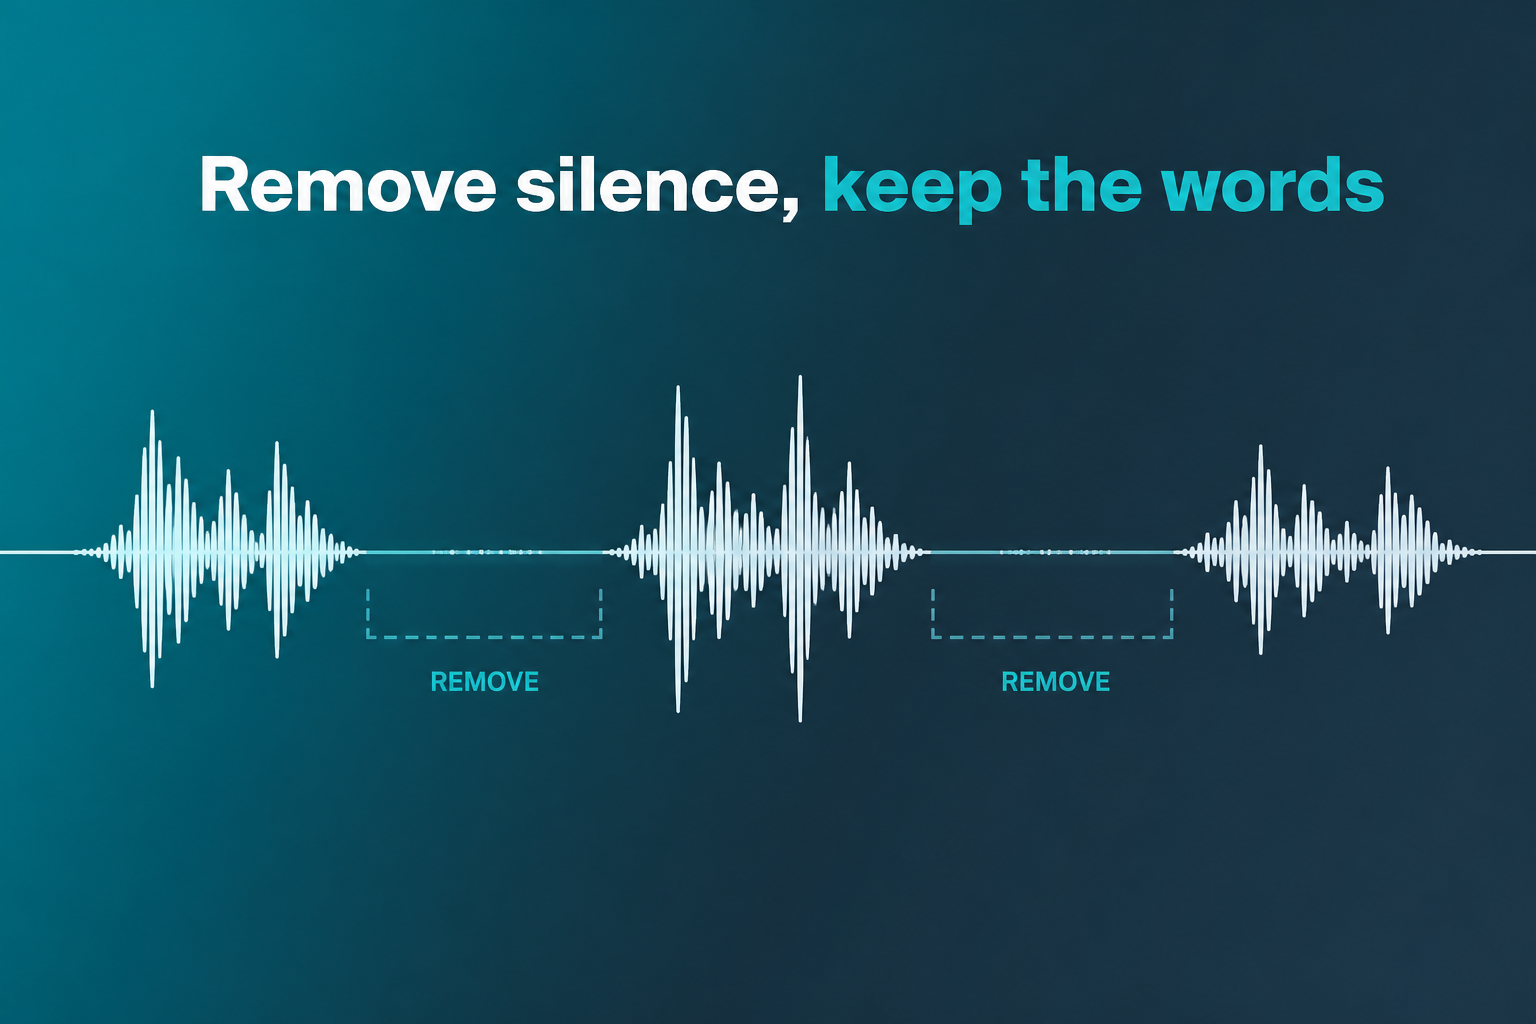
Short answer: remove podcast silence by cutting only long, empty pauses—not natural breaths or word endings. Set a conservative silence threshold, require a minimum silence length, keep a little protective padding around speech, then listen to the whole episode before you export. The goal is a tighter episode that still sounds human.
Long dead air makes listeners skip. Aggressive silence removal makes speech sound choppy. This guide shows a safe offline workflow for Windows podcast editors who want shorter files without clipping consonants, swallowing breaths, or creating jump-cut artifacts.
Silence versus natural pacing
Not every quiet moment is a problem. A short pause after a key point helps the listener process the idea. Breaths between sentences keep delivery natural. The pauses that usually need attention are multi-second gaps, unfinished takes left in the timeline, and stretches where nobody is speaking while a host searches for a note.
Before you automate anything, decide what “too long” means for your show. Interview podcasts often tolerate more space than rapid solo updates. Narrative shows may need intentional silence for emphasis. Write one rule for the episode, then apply it consistently instead of guessing clip by clip.
How voice-activity detection removes silence
Most silence removers estimate where speech is present, mark the gaps between those regions, and delete gaps that pass your rules. The important controls are usually:
- Threshold: how quiet a region must be before it counts as silence.
- Minimum silence duration: how long that quiet region must last before it is removed.
- Padding / keep silence: how much quiet to leave before and after detected speech.
- Attack / release behaviour: how quickly the tool opens and closes around speech edges.
If the threshold is too aggressive, soft consonants such as “s,” “f,” and trailing “t” get treated as silence. If the minimum duration is too short, the tool eats natural micro-pauses and the read becomes breathless. If padding is zero, every cut lands hard against the word edge.
A safe starting preset
Use a conservative preset first, then tighten only if the episode still feels slow:
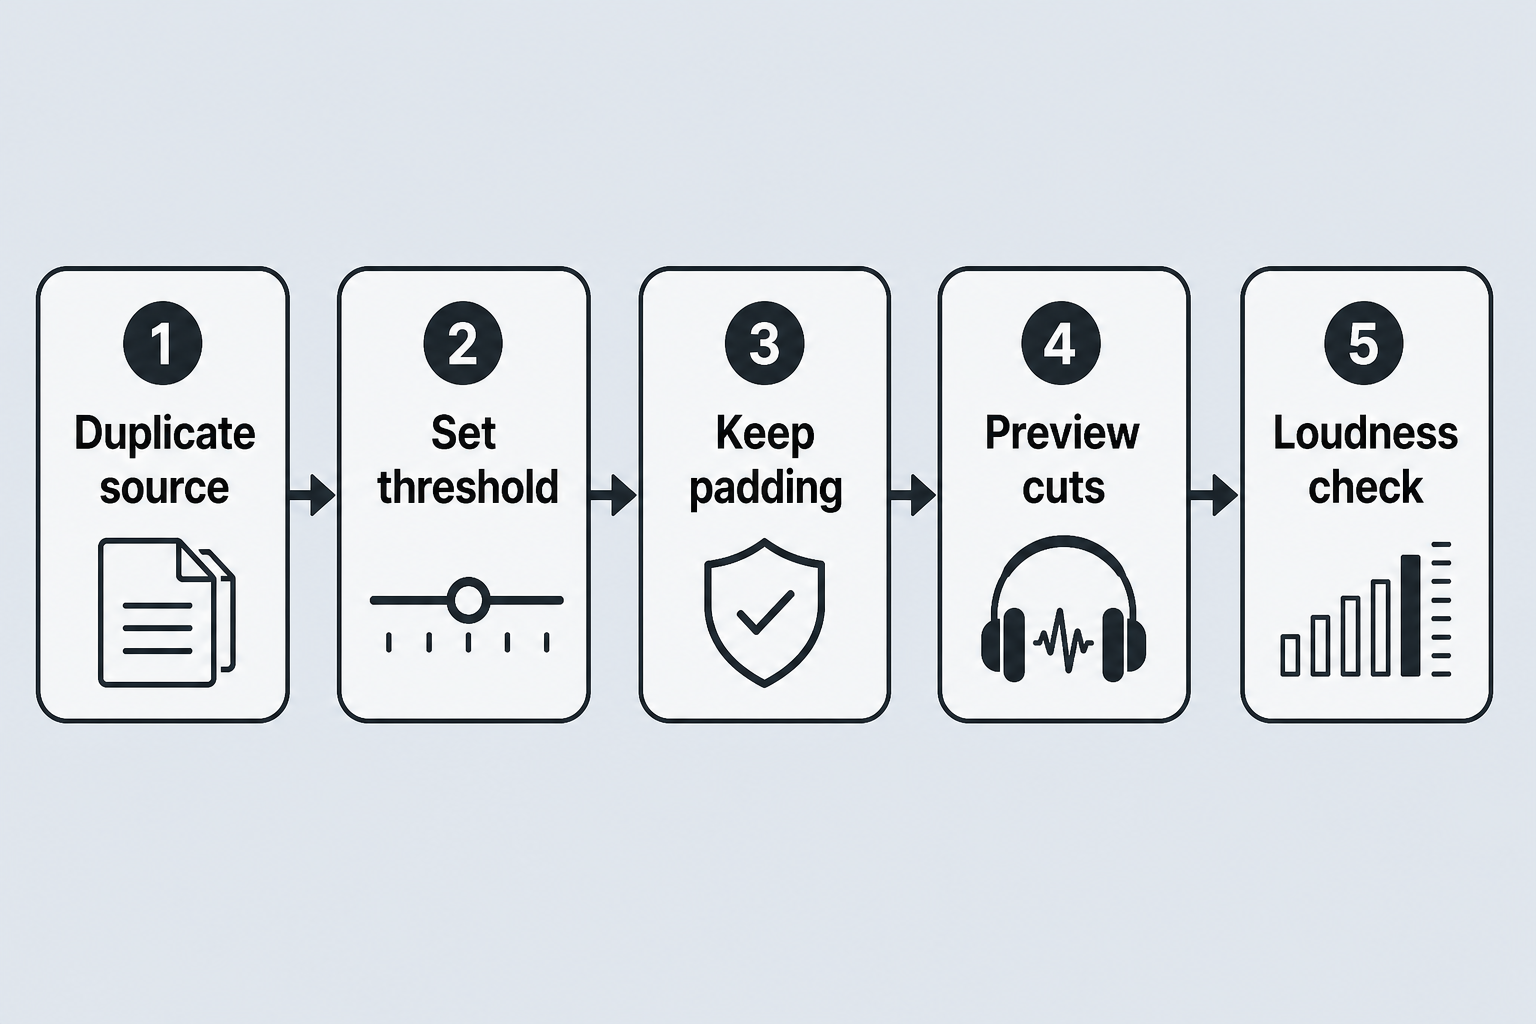
- Duplicate the original WAV or high-bitrate source so you can revert.
- Normalize or level the dialogue lightly so quiet and loud hosts are closer before silence detection.
- Set the silence threshold just below room tone, not at absolute digital silence.
- Start with a minimum silence of about 400–800 ms for solo talk, or longer for interviews.
- Keep 50–150 ms of padding around speech so consonants survive the cut.
- Preview three sections: the cold open, a mid-episode explanation, and the closing CTA.
Process a short excerpt before you run the whole episode. A two-minute test reveals clipped words faster than waiting for a full render.
Protective padding and edge cases
Protective padding is the difference between a clean edit and a damaged take. Leave a little room before and after each speech region so plosives and trailing syllables are not truncated. Watch for these failure cases:
- Soft speech at the end of a sentence: the last word can fall below threshold and disappear.
- Laughs, sighs, and intentional non-verbal audio: they may look like silence to a simple detector.
- Background beds and room tone: if music or ambience is mixed under the voice, silence detection becomes less reliable.
- Cross-talk: overlapping speakers create short gaps that should not be treated like empty air.
When music beds are present, remove silence on the dialogue track only, then rebalance the mix. Cutting a stereo master that already contains music can create abrupt bed jumps.
Batch workflow for a multi-episode backlog
If you are cleaning a backlog, process one representative episode, lock the preset, then apply it to the rest with the same review checklist. Keep filenames clear: episode-12-raw.wav, episode-12-silence-pass.wav, episode-12-master.wav. Never overwrite the raw recording.
For local Windows tools, prefer an offline workflow so unpublished episodes and guest recordings stay on the machine. Cloud uploads are unnecessary for this edit and create an avoidable privacy step for private interviews or unreleased material.
Listen for clipped consonants
After silence removal, listen on headphones and on speakers. Scrub specifically to cut points rather than only listening casually. Problems to catch:
- Missing word endings
- Chopped breaths that now sound like glitches
- Uneven pacing where every pause was forced to the same length
- Sudden loudness changes because quiet room tone was deleted between phrases
If several edges sound damaged, raise padding or lengthen the minimum silence duration before you increase threshold aggressiveness. Most “choppy” exports come from cutting too eagerly, not from leaving a little air in.
Loudness check after editing
Removing long quiet sections can change perceived loudness even when peak levels look unchanged. After the silence pass, check integrated loudness and true peak for your distribution target. Re-normalize if needed, then export the final master. A silence edit that shortens the episode by several minutes is still unfinished until the loudness and final listen are complete.
Practical checklist
- Define the longest pause you want to keep.
- Duplicate the source file.
- Level dialogue before silence detection.
- Use a conservative threshold, minimum duration, and padding.
- Preview open, middle, and close sections.
- Inspect cut points for clipped consonants.
- Re-check loudness, then export.
Final recommendation
Silence removal should make the episode easier to finish, not make the host sound edited by a machine. Start conservative, protect speech edges with padding, and only tighten the preset after you have listened to real cut points. For private Windows workflows, keep the edit local from raw file to final master.
If you need a local Windows tool for this step, see AI Audio Silence Remover Pro. For broader podcast cleanup such as noise and echo, see Podcast Audio Noise Remover.
Frequently asked questions
Will silence removal always make a podcast better?
No. Aggressive cuts can hurt pacing and credibility. Remove only dead air that does not serve the story or conversation.
Should I remove silence before or after noise reduction?
Clean obvious noise first when room tone is inconsistent, then remove silence. If you cut silence first on a noisy file, the detector may misread noise floors and speech edges.
How much time should silence removal save?
It depends on the recording. Solo scripts with long pauses may lose several minutes. Tight interviews may only lose short gaps. Judge by listening quality, not by the largest possible time saved.
