

If you have a folder full of scans, opening them one at a time is slow. A batch OCR workflow can turn those images into searchable text in one pass. The useful part is not just the OCR button. You also need a clean input folder, the right language setting, predictable output names, and a quick review step.
This guide shows a practical way to batch OCR images to text on Windows. The examples work for receipts, forms, notes, screenshots, and scanned pages. The same checks also help when you use a local OCR app instead of an online service.
What batch OCR does
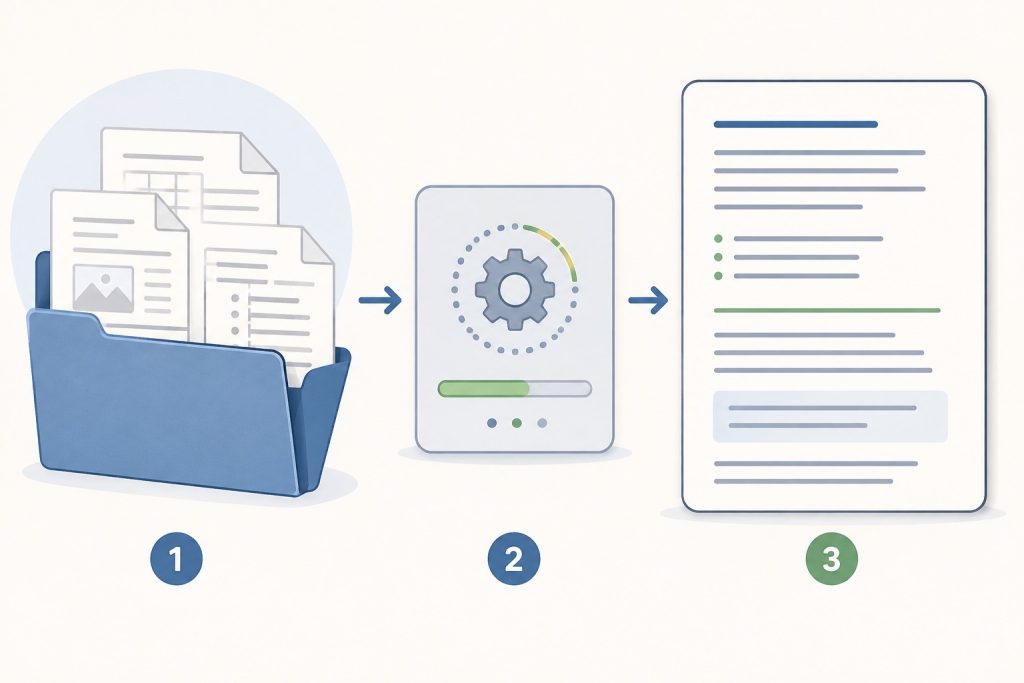
OCR reads the shapes in an image and turns them into characters. Batch OCR repeats that job for every supported file in a folder. A good run normally creates one text file per image, or one combined document with a clear separator between pages.
- Input: JPG, PNG, TIFF, or another supported scan format.
- Processing: the OCR engine detects lines, words, and layout.
- Output: TXT, searchable PDF, DOCX, or structured text, depending on the tool.
1. Put the source images in a clean folder
Start with a new folder instead of pointing the OCR tool at your whole Pictures directory. Use short filenames and keep the original order visible. Names such as receipt-001.jpg, receipt-002.jpg, and receipt-003.jpg are easier to sort than camera-generated names.
Keep the original images untouched. If you need to straighten, crop, or improve contrast, save those versions in a separate prepared folder. That gives you a clean fallback when one adjustment makes recognition worse.
2. Improve the scans before processing
OCR works best when the text is sharp and upright. You do not need perfect images, but a few small fixes can reduce errors across the whole batch.
- Crop large empty borders.
- Rotate pages so the text lines are level.
- Use even lighting and remove strong shadows.
- Keep enough resolution to see small print clearly.
- Separate photographs, screenshots, and paper scans when their layouts are very different.
3. Choose the language and output format
Select the language that appears most often in the images. If the tool supports more than one language, add only the languages you actually need. Extra language packs can make recognition slower or cause similar characters to be confused.
Pick the output format before starting. Plain TXT is easy to search and automate. A searchable PDF keeps the original page appearance. DOCX is useful when you need to edit the result. If you are sending the text into another program, one file per image is usually easier to troubleshoot than one very large export.
4. Run a small test batch first
Before processing hundreds of files, test three or four representative images. Include one clean page, one difficult page, and one image with small or uneven text. Compare the output with the source before you commit to a long run.
source/
  receipt-001.jpg
  receipt-002.jpg
output/
  receipt-001.txt
  receipt-002.txt
Look for repeated mistakes. If every decimal point is missing, the source may be too small or the contrast may be too low. If only one type of document fails, give that group its own settings instead of lowering the quality for every file.
5. Process the full folder
Once the test looks reasonable, select the full input folder and an empty output folder. Avoid writing results beside the source images because it becomes easy to process the generated files again by mistake.
Keep the computer awake during the run if the batch is large. When it finishes, check the output count. A missing file is easier to find by comparing filenames than by opening every result manually.
6. Review the output where it matters
OCR is a first draft, not a guarantee. Review names, dates, totals, serial numbers, and table columns carefully. These are the parts where one wrong character can change the meaning.
- Open the first, middle, and last result in the batch.
- Search for blank output files.
- Compare important numbers with the source image.
- Spot-check pages with handwriting, stamps, or low contrast.
- Keep the original scans beside the results for later correction.
A simple folder layout
| Folder | Purpose |
|---|---|
originals | Untouched scans and photos. |
prepared | Rotated, cropped, or adjusted copies. |
output-text | TXT, DOCX, or searchable PDF results. |
reviewed | Results checked against the source. |
When local OCR is a better fit
Local OCR can be a good choice when the images contain private notes, internal forms, or customer documents that should not leave the computer. It also helps when you need repeatable folder processing without uploading files one by one. You still need to check the tool’s file support, language quality, and storage behavior before using it for sensitive work.
For more offline document workflows, see the offline OCR scanner guide. If your files are PDFs rather than separate images, the scanned PDF workflow may be a better starting point.
Final checklist
- Keep originals in a separate folder.
- Test a few different images first.
- Choose the language and output format deliberately.
- Write results to a new output folder.
- Compare important text with the source image.
- Keep a record of the settings used for the batch.
A small test and a short review step make batch OCR much more reliable. The goal is not to trust every character automatically. It is to turn a folder of images into a useful first draft without losing track of what still needs checking.
