How to Animate a Car Photo in DaVinci Resolve With 2.5D Parallax
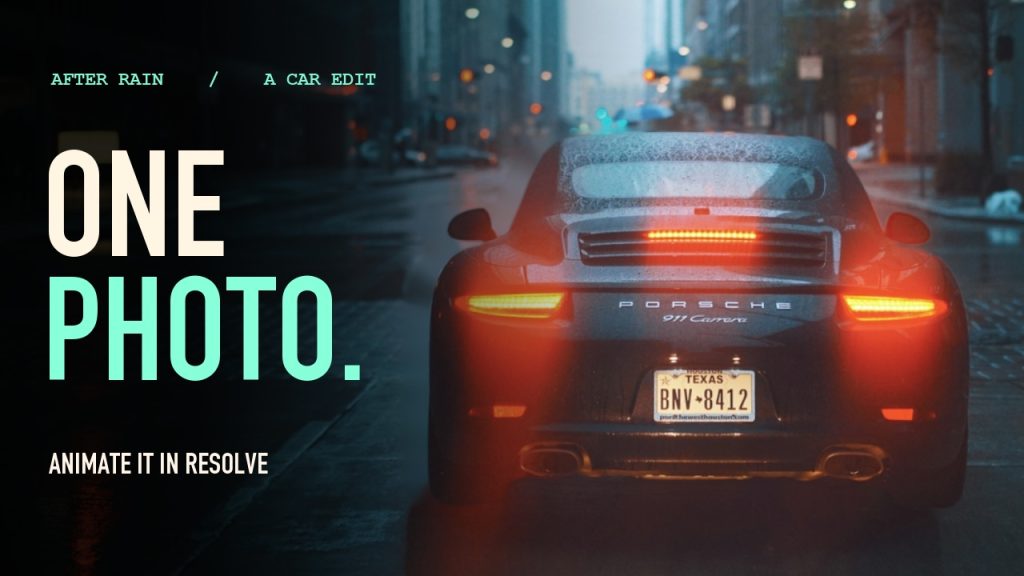
A normal zoom makes the car and the street grow together. Move them independently and a still photo starts to feel like a camera shot. For After Rain, we used one Porsche photograph and a four-second move. Here’s how to set it up on the Edit page in DaVinci Resolve 20.
Start with two stills on the same canvas
Trace the roof, both mirrors, the tires and the bumper. Export the car as a transparent PNG with the full 1920 × 1080 canvas intact. Duplicate the source, remove the car and fill the gap with nearby pavement and building texture. Use this second still as the background. Keep both exports the same size so the edges line up when you stack them.
Stack the street on V1 and the car on V2
On the Edit page, put the repaired street on V1. Put the car PNG directly above it on V2. Align the starts and make both clips four seconds long. In Video → Transform, set linked Zoom X and Y to 1.070 on both clips. The extra picture gives the layers room to slide without exposing the frame edge.
Keyframe Position X on each layer
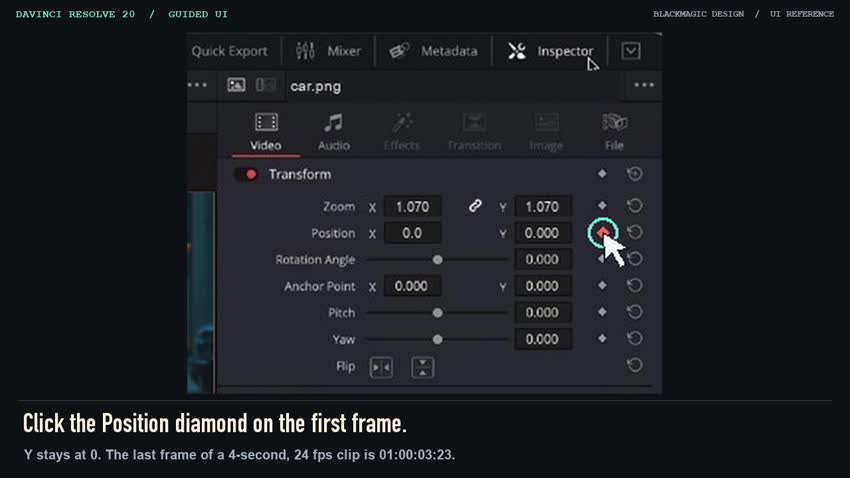
Select the street clip, place the playhead on its first frame and click the Position diamond in Inspector → Video → Transform. Leave X and Y at zero. On the last frame, set Position X to −18. Do the same for the car, with its final X at +36. Y stays at zero for both layers. On a 24 fps timeline starting at 01:00:00:00, the last frame of a four-second clip is 01:00:03:23.
Scrub the mirrors and the right edge
Check the last frame at full size. A second mirror means some of the original car is still visible on the street layer. A black strip at the right edge usually means the street ran out of picture when it slid left. Inspect the repaired pixels before turning up the movement.
Cut the trailer from the same shot
Start on a brake light, cut wide when the beat lands, then punch in on the badge. Rain, a low engine note and a radio exchange make the cuts feel connected. The wide reveal is the easiest place to see the parallax because the car and buildings shift against each other.
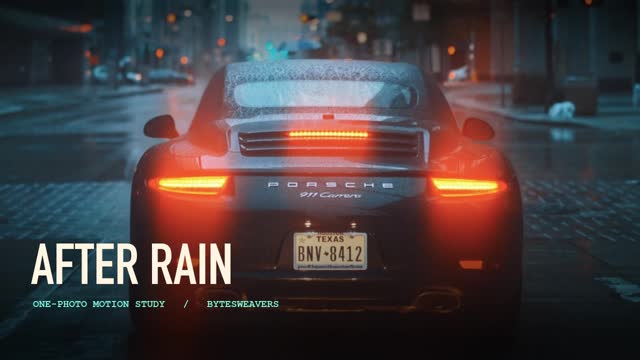
Photo by Gabriel Gurrola on Unsplash. The interface illustration uses screenshots from Blackmagic Design’s Resolve 20 training, with our project composited into the viewer and fields. Watch the 2:31 walkthrough and finished trailer after 5:30 p.m. IST on November 18.

Writes guides and product notes for Bytesweavers.