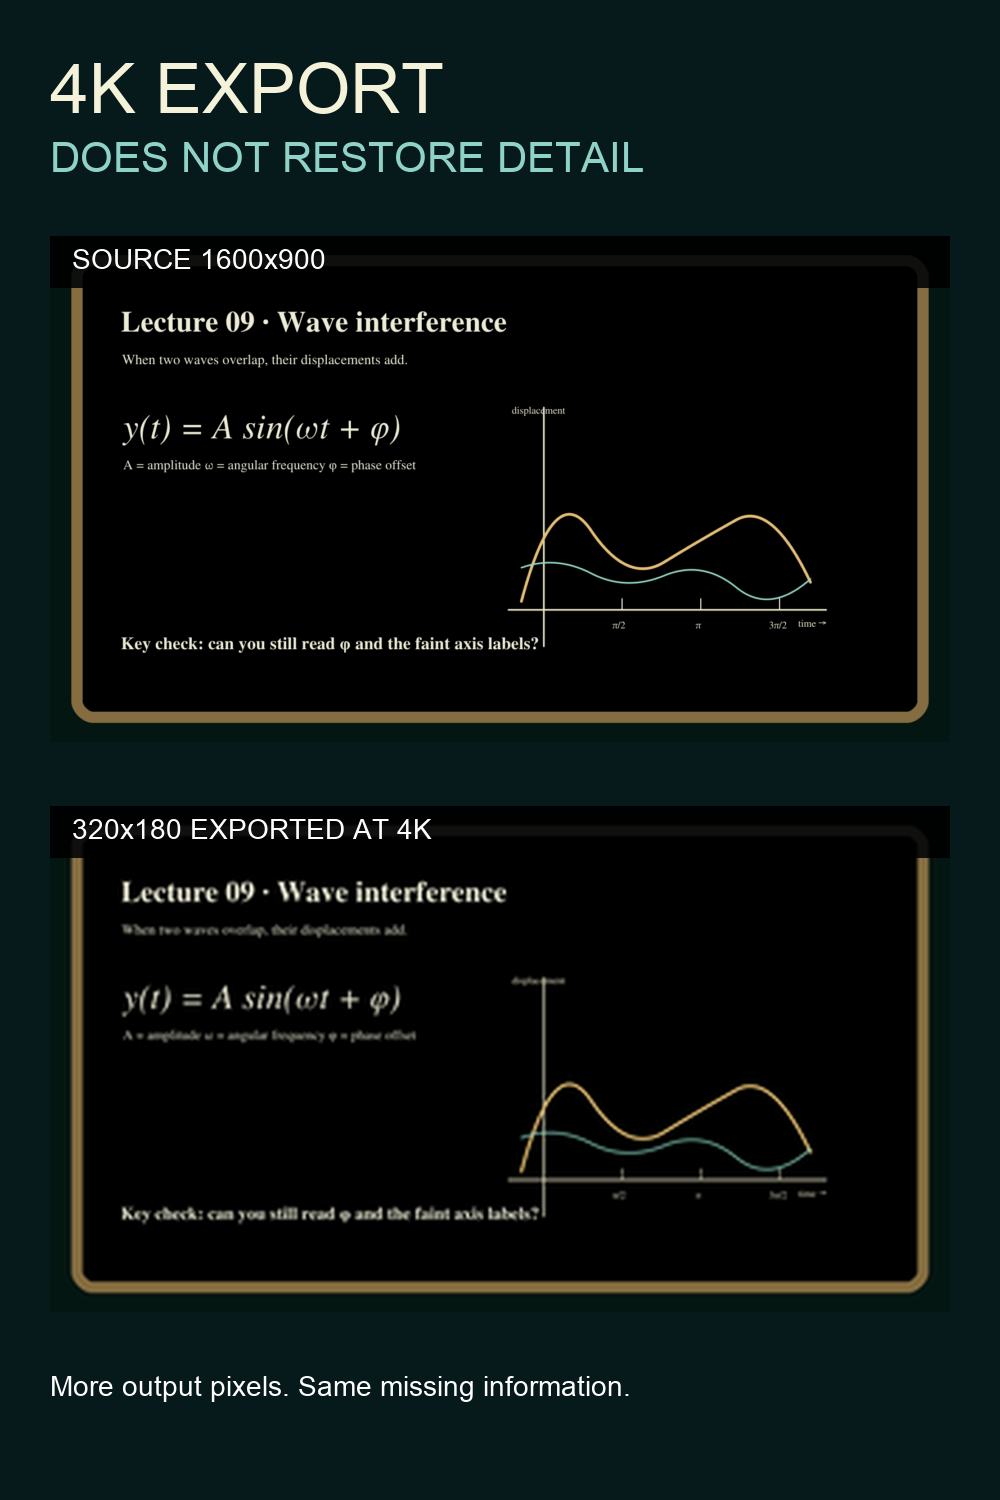
The export window says 3840×2160. The small writing in your clip is still a blur. That does not necessarily mean the export failed: a larger frame can hold the same missing detail in more pixels.
We made a controlled, visual test so you can judge the result rather than trust the “4K” badge. Then we’ll show how to run the same check on your own footage.
What we tested — and what we did not
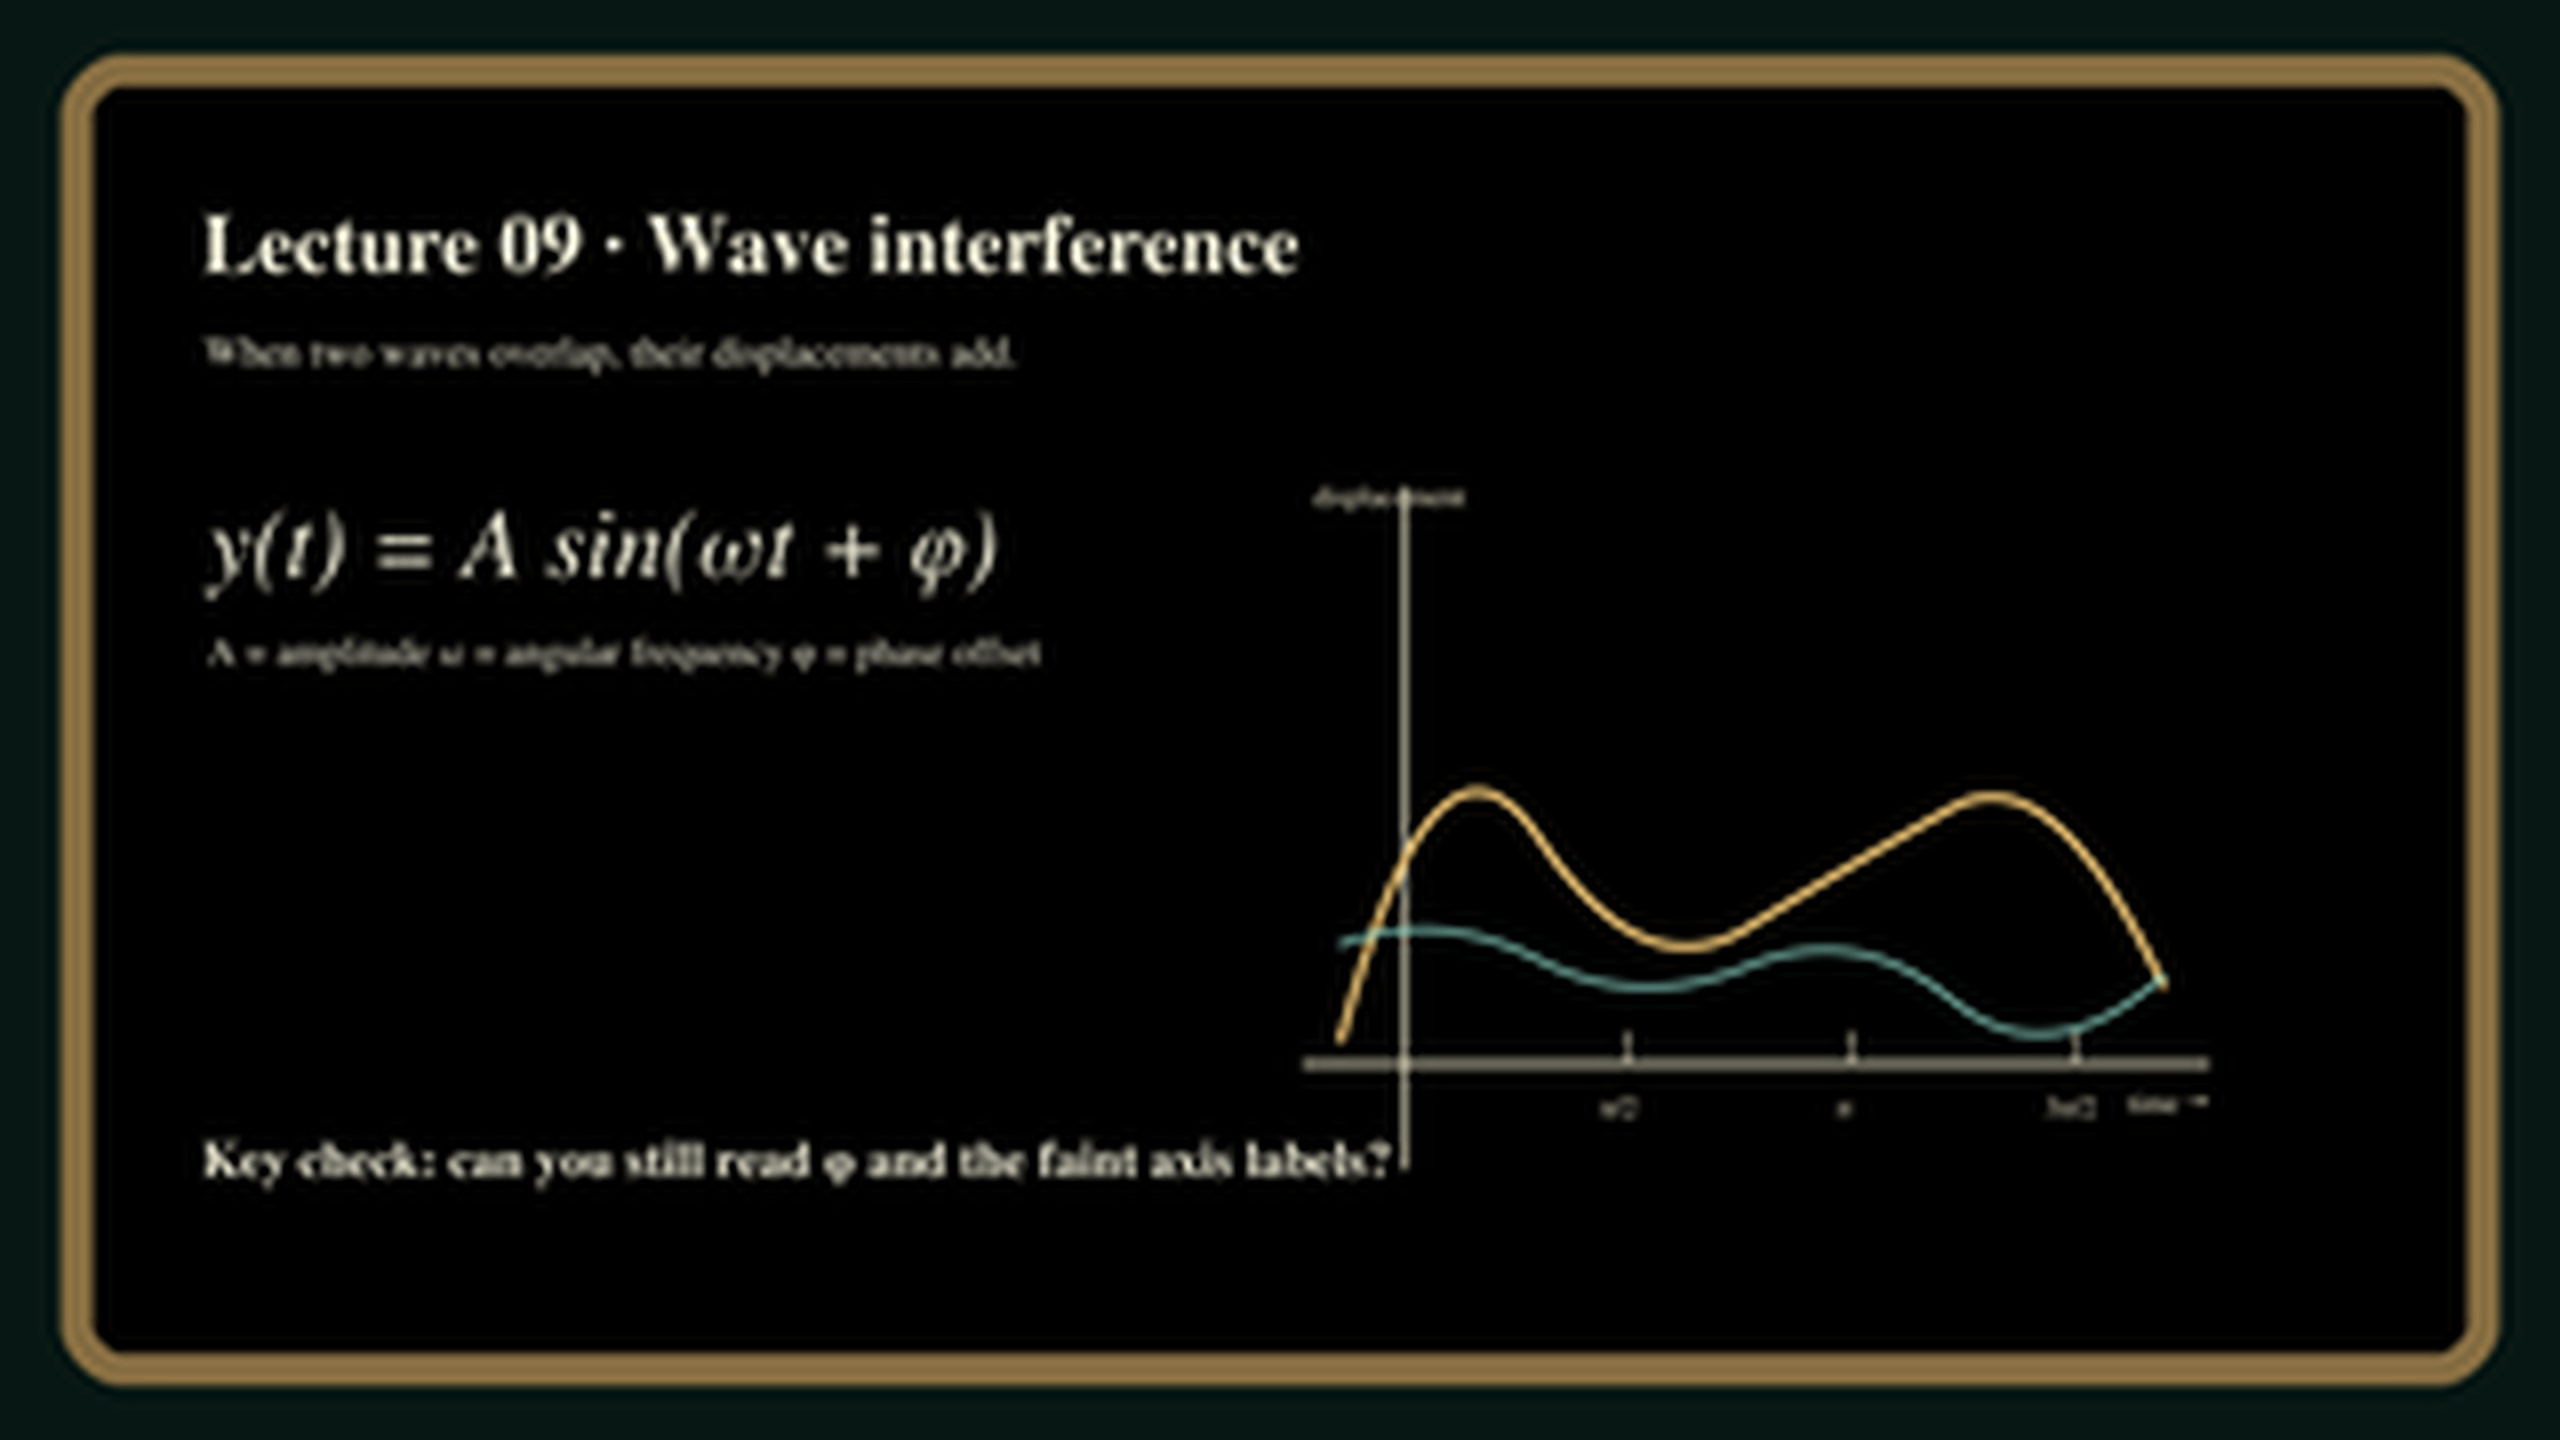
We drew an original 1600×900 lecture-board graphic with a formula, a short sentence and faint graph labels. We reduced a copy to 320×180, then resized that copy to 3840×2160 with FFmpeg’s Lanczos scaler. The comparison below displays the original and the 4K export at the same on-screen size. Look at the tiny sentence below the heading and the graph’s axis labels, not just the broad curves.
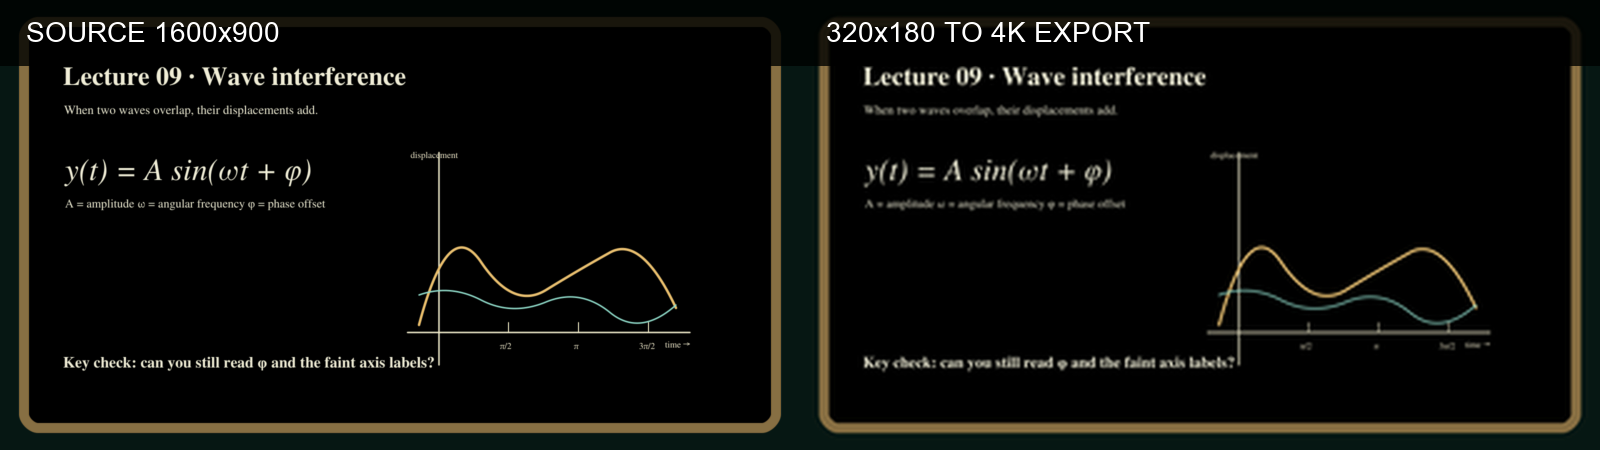
This is a test of ordinary resizing, not AI enhancement or a real lecture recording. We did not test a Bytesweavers app here. Some large shapes survive; fine lettering that disappeared in the reduced copy does not reappear when the output dimensions increase.
Inspect the files, not the export label
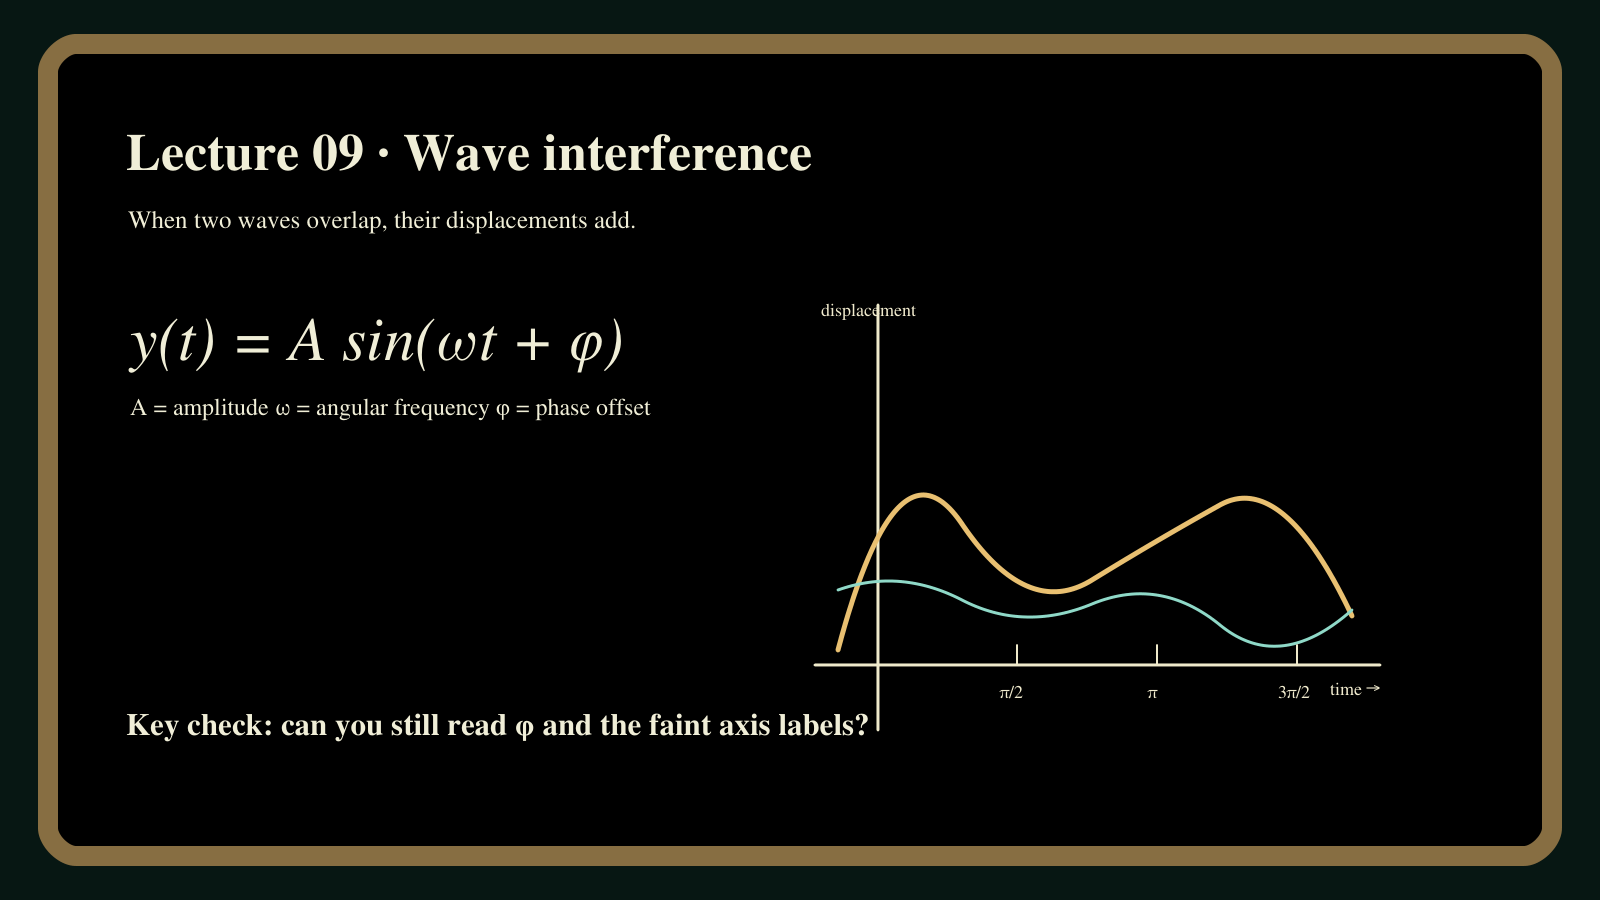
Here is the original test graphic on its own. Its small labels are part of the 1600×900 source, before we discard information by shrinking it.
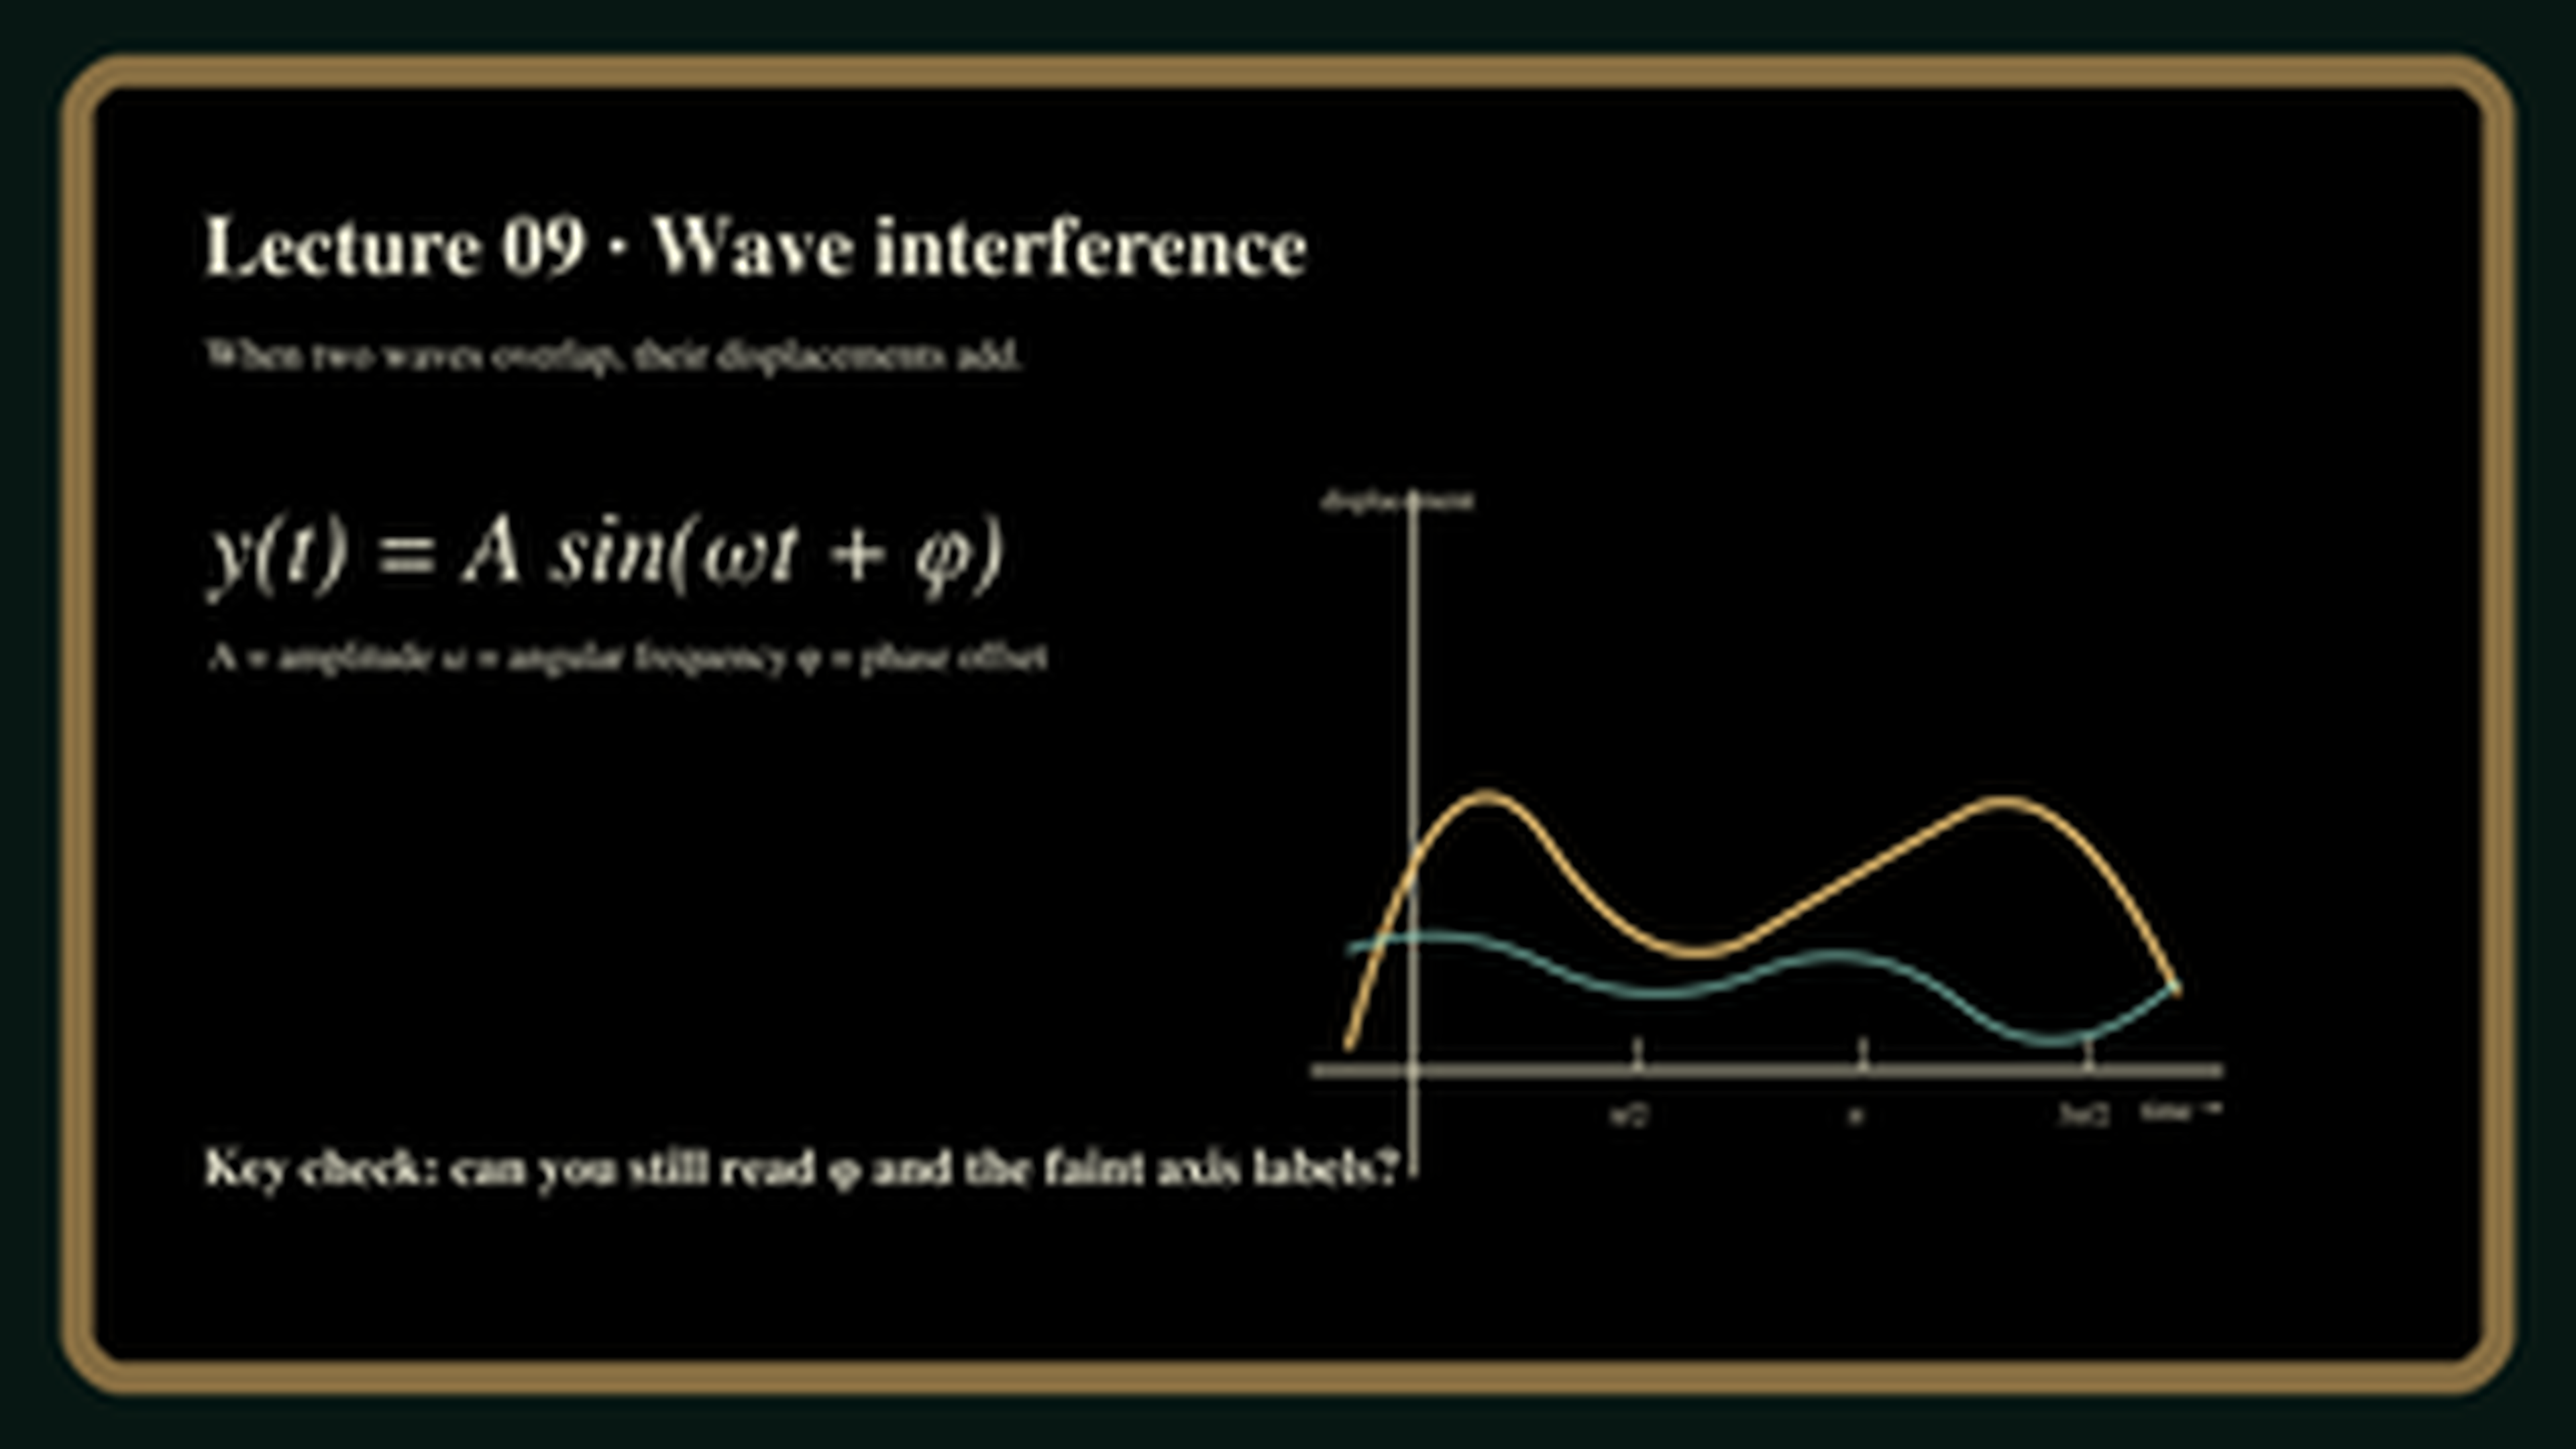
And here is the copy after it was reduced to 320×180 and exported at 4K. The uploaded preview may be resized by WordPress, but the original exported file is 3840×2160. Zoom in on the same small text: more output pixels do not make the lost strokes trustworthy.
Why the file grows without revealing new detail
A 320×180 frame contains 57,600 pixel positions. A 3840×2160 frame contains 8,294,400 — 144 times as many. A scaler fills those new positions from the smaller image. It can smooth or sharpen the appearance of an edge, but resizing alone cannot determine which tiny letters were present before the image was reduced. The higher pixel count describes the output grid, not recovered measurements of the scene.
A five-minute check for your own blurry clip
- Find the best original. Use the camera file if you have it, not a social-media download that may have been compressed again.
- Choose one difficult frame. Find small writing, a thin edge or a face detail your viewer actually needs to see.
- Export a short sample. Keep the original. Note the input size, the export size and any sharpening or enhancement you applied.
- Compare matched crops at the same display size. Do not let a bigger playback window or “4K” filename decide for you.
- Ask a specific question. Can you accurately read the word or distinguish the edge? If not, avoid claiming that the detail was recovered.
For a lecture recording, check whether a student can read one small label. For a product video, check the text on the packaging. For an archival clip, keep the original beside any processed version so viewers can tell interpretation from evidence.
When a 4K export still makes sense
You may need a 4K frame to meet a delivery specification or fit a 4K timeline. That is a valid workflow choice. It is simply a different goal from restoring unreadable detail. Sharpening can raise edge contrast; an AI model may create a plausible-looking result. Neither should be presented as proof of what a faint word or number originally said without checking another source.
Bottom line: keep the best source, test the exact detail that matters and judge equal-sized crops. Treat export resolution as a format setting, not a repair guarantee.
Test notes and sources
The illustrated slide and its derived images were created for this Bytesweavers test; no third-party lecture footage or app interface is shown. The downsample and export used FFmpeg’s Lanczos scaler. See the FFmpeg scaler documentation and its scale-filter reference. This article does not evaluate or recommend a Bytesweavers product.