
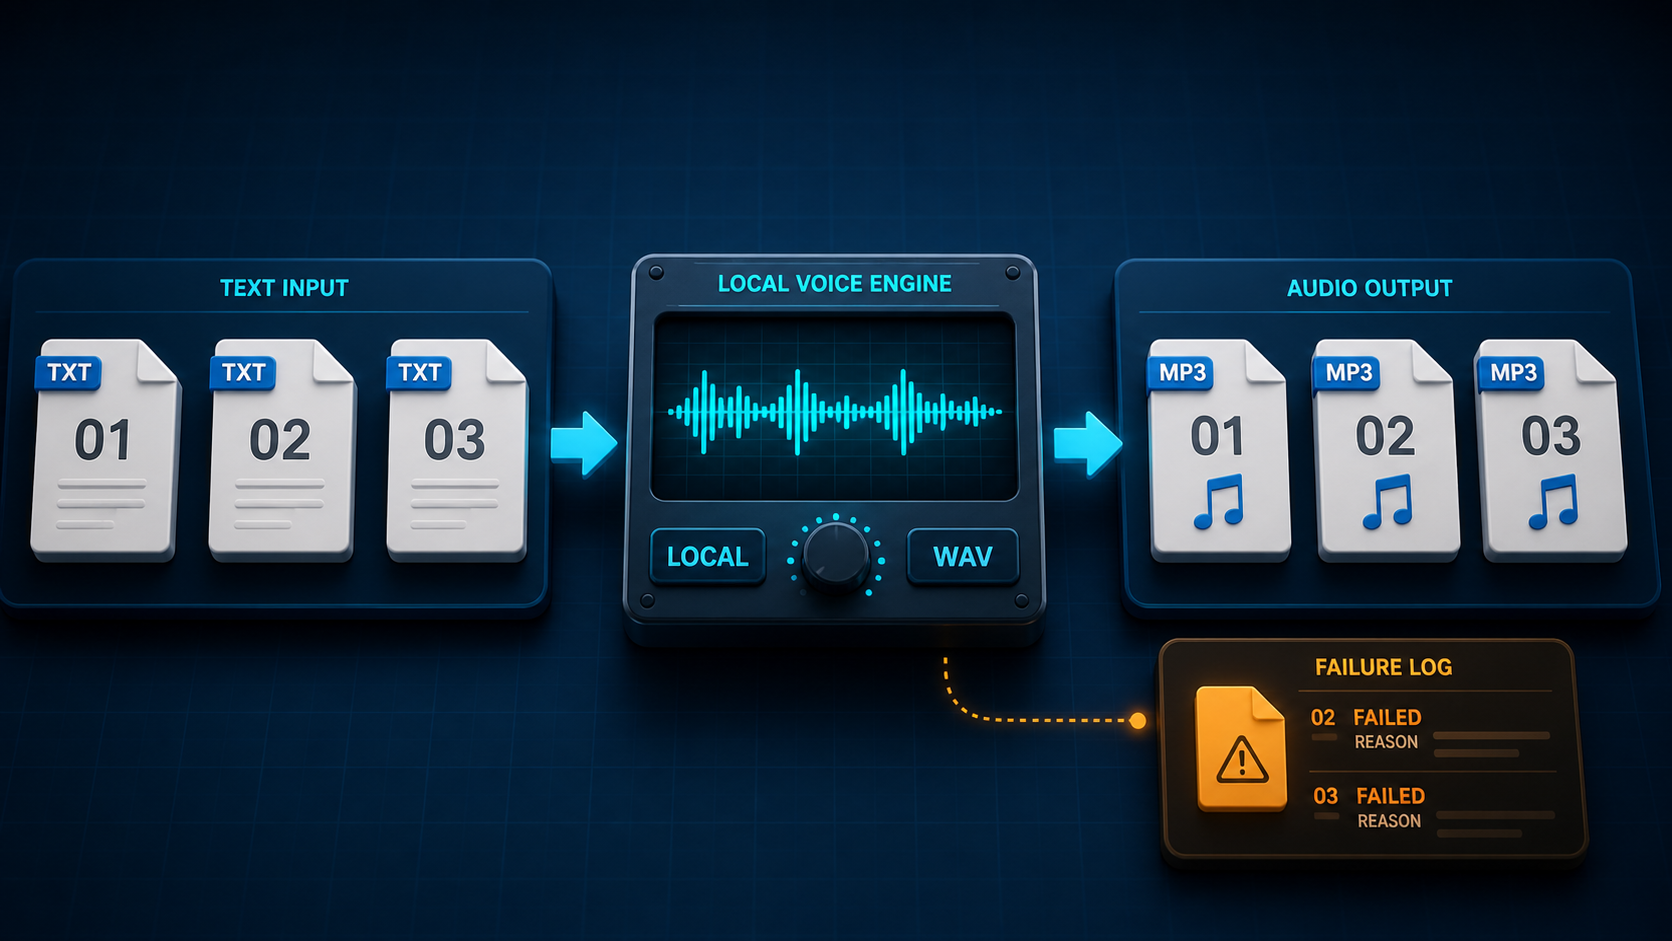
Short answer: to batch-convert text files to MP3 offline on Windows, keep one script in each UTF-8 TXT file, generate a WAV file with a local text-to-speech engine, and convert that WAV to MP3 with the same settings for every item. Use the TXT filename as the audio filename, write results to a separate folder, and save a log of any file that fails.
This batch text to speech workflow is better than pasting ten scripts into a speech tool one by one. It keeps the source text private, makes filenames predictable, and lets you rerun only the files that changed. The steps below work for lessons, accessibility audio, product narration, podcast drafts, and internal voice notes.
Plan the batch before you generate audio
Start with three folders:
C:\TTS-Batch\input
C:\TTS-Batch\wav
C:\TTS-Batch\mp3
Put one narration in each TXT file inside input. Use simple numbered names such as 001-welcome.txt, 002-installation.txt, and 003-next-steps.txt. The number keeps the files in the intended order, while the words still make them easy to find.
Avoid characters that cause trouble in Windows filenames. Also avoid names that differ only by punctuation or spaces. If a batch tool uses the TXT stem for the output, 002-installation.txt should become 002-installation.wav and then 002-installation.mp3.
Clean the text before a long batch
Text-to-speech models respond to punctuation, abbreviations, numbers, and line breaks. A small cleanup pass before generation usually saves more time than fixing audio later.
- Save every file as UTF-8 so names and non-English characters survive the batch.
- Write dates and abbreviations the way you want them spoken when the default reading sounds wrong.
- Use commas and full stops to control pauses instead of adding random blank lines.
- Remove web navigation, repeated headers, footnotes, and other text that should not be voiced.
- Keep one language per file unless the selected voice handles language switching well.
- Split very long scripts at sensible section boundaries instead of creating one huge request.
Before processing the whole folder, test one short file, one average file, and the longest file. Listen for names, numbers, sentence endings, and awkward pauses. Once those three work, lock the voice and generation settings for the batch.
Choose one voice for your batch text to speech run
A local engine such as Piper can generate speech without sending the script to a cloud service. Piper’s current official project provides a command-line interface, a local HTTP server, and downloadable voice models. Its voice documentation says each voice needs an ONNX model file plus a matching JSON configuration file. It also warns that individual voice models can have their own licences, so check the model card before commercial use.
For a consistent set of MP3s, keep these choices the same:
- voice and language;
- speaker, if the model has more than one;
- speaking speed;
- sentence silence;
- volume or normalization setting;
- MP3 bitrate or quality mode.
Do not change speed or loudness halfway through a course or playlist unless the change is intentional. If you need a second voice, put those scripts in a separate batch so the settings remain easy to audit.
Method 1: use a desktop batch exporter
If your local text-to-speech app can process a folder, this is the simplest route:
- Select the
inputfolder. - Choose one voice and preview a representative paragraph.
- Set output naming to the source filename.
- Choose MP3 if the app exports it directly. Otherwise export WAV first.
- Set one pause, speed, and volume profile for the whole job.
- Export to a new folder, never over the TXT sources.
- Review the failure list before closing the app.
Direct MP3 export is convenient, but keeping an intermediate WAV can help if you need to normalize loudness, remove a click, or make a second delivery format without synthesizing the speech again.
Batch text to speech with Piper, PowerShell, and FFmpeg
This method is useful when you want a repeatable local process. Piper creates WAV audio; FFmpeg converts each WAV to MP3. The official Piper CLI supports reading input files, selecting a model, setting sentence silence, changing volume, and writing a WAV output. The official CLI notes that launching Piper repeatedly reloads the model, so a local server is better for larger recurring batches.
Install Piper and download a voice
In PowerShell, create a virtual environment and install Piper:
py -m venv C:\TTS-Batch\.venv
C:\TTS-Batch\.venv\Scripts\python.exe -m pip install piper-tts
C:\TTS-Batch\.venv\Scripts\python.exe -m piper.download_voices en_US-lessac-medium
The example voice is only a starting point. Listen to samples and choose a voice that fits your language, licensing needs, and delivery style. Move the downloaded .onnx and .onnx.json files into a dedicated voices folder.
Generate one WAV per batch text to speech file
The following PowerShell loop uses the TXT stem as the WAV name. Change the model path before running it.
$python = "C:\TTS-Batch\.venv\Scripts\python.exe"
$model = "C:\TTS-Batch\voices\en_US-lessac-medium.onnx"
$inputDir = "C:\TTS-Batch\input"
$wavDir = "C:\TTS-Batch\wav"

New-Item -ItemType Directory -Force -Path $wavDir | Out-Null

Get-ChildItem -Path $inputDir -Filter *.txt | Sort-Object Name | ForEach-Object {
    $wavPath = Join-Path $wavDir ($_.BaseName + ".wav")
    & $python -m piper -m $model --input-file $_.FullName `
        --sentence-silence 0.25 --output-file $wavPath

    if ($LASTEXITCODE -ne 0 -or -not (Test-Path $wavPath)) {
        Add-Content -Path "C:\TTS-Batch\failed.txt" -Value $_.FullName
    }
}
Microsoft’s documentation for Get-ChildItem confirms that it can list matching files, while the official foreach guide explains how to process each item in a collection. Sorting by name keeps numbered scripts in order.
Convert the WAV files to MP3
Install a trusted Windows build of FFmpeg, confirm that ffmpeg -version works, and run:
$wavDir = "C:\TTS-Batch\wav"
$mp3Dir = "C:\TTS-Batch\mp3"

New-Item -ItemType Directory -Force -Path $mp3Dir | Out-Null

Get-ChildItem -Path $wavDir -Filter *.wav | Sort-Object Name | ForEach-Object {
    $mp3Path = Join-Path $mp3Dir ($_.BaseName + ".mp3")
    ffmpeg -hide_banner -loglevel error -y -i $_.FullName `
        -codec:a libmp3lame -b:a 128k $mp3Path

    if ($LASTEXITCODE -ne 0 -or -not (Test-Path $mp3Path)) {
        Add-Content -Path "C:\TTS-Batch\failed.txt" -Value $_.FullName
    }
}
FFmpeg’s official codec documentation identifies libmp3lame as its LAME MP3 encoder wrapper and supports either a target bitrate or variable-quality setting. For speech, 96–128 kbps mono is often enough, but test the final files in the player or platform that will receive them.
Use the local Piper server for repeated batches
The simple loop above starts the model once per TXT file. That is easy to understand, but model loading can dominate a large batch. Piper’s official HTTP API keeps a local service running and accepts text at localhost:5000/synthesize. Because the request stays on your PC, it can speed up recurring batches without turning the workflow into a cloud service.
Install the server extra and start it with your voice:
C:\TTS-Batch\.venv\Scripts\python.exe -m pip install "piper-tts[http]"
C:\TTS-Batch\.venv\Scripts\python.exe -m piper.http_server `
    -m C:\TTS-Batch\voices\en_US-lessac-medium.onnx
Then send each TXT file to the local endpoint, save the response as WAV, and run the same FFmpeg conversion. Bind the server to localhost unless you deliberately need access from another machine. Stop it when the batch is complete.
Normalize loudness only when the batch needs it
If every file uses the same voice and settings, loudness may already be consistent. Listen before adding another processing stage. When a delivery specification requires a target, FFmpeg includes an EBU R128 loudnorm filter with integrated-loudness, loudness-range, and true-peak controls.
For important files, use FFmpeg’s two-pass file workflow instead of guessing from one sample. Do not normalize one file differently just because it sounds quieter on one laptop speaker. Measure the whole set and keep the target consistent.
Verify a batch text to speech sample before the full run
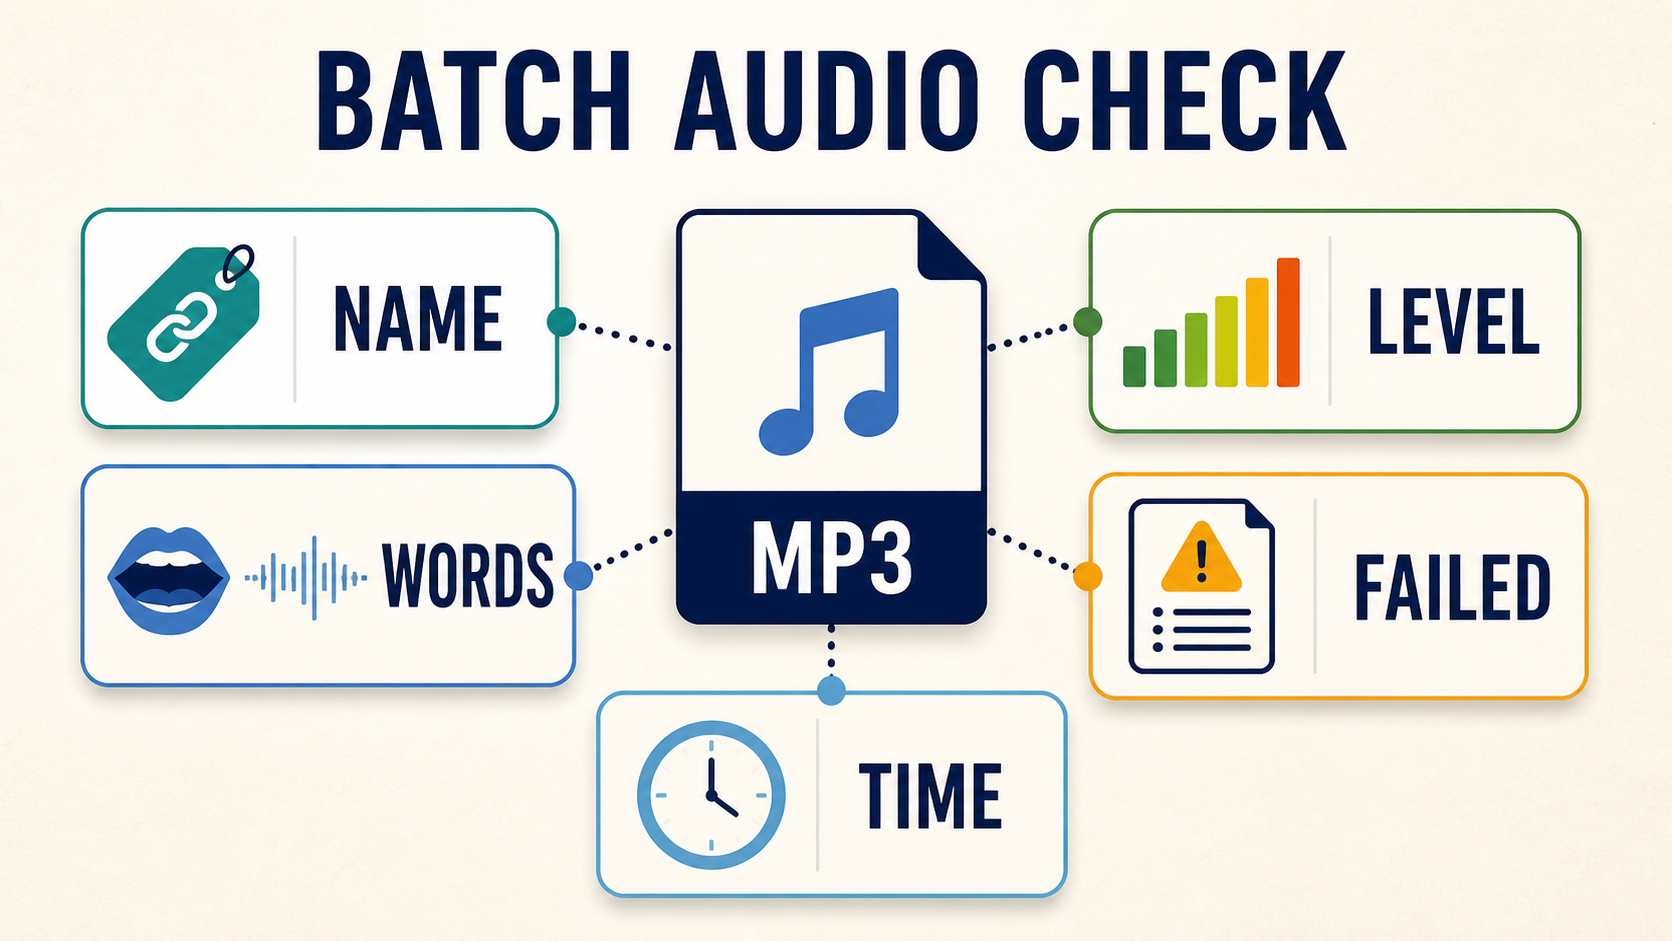
Copy ten representative scripts into a test folder. Include the shortest, longest, and most difficult names or numbers. After the test batch, record:
- input filename and output filename;
- generation success or failure;
- audio duration;
- file size;
- pronunciation notes;
- whether the volume matches the rest of the set.
Open the first, middle, and last MP3 in a second media player. This catches bad metadata, truncated endings, and output that only works in the app that created it. Also confirm that a failed file cannot silently leave behind an old MP3 with the same name.
Common batch text-to-speech mistakes
- Overwriting sources: keep TXT, WAV, and MP3 files in separate folders.
- Changing the voice mid-batch: treat a new voice or speed as a new batch.
- Skipping UTF-8: broken characters can become wrong pronunciation or failed files.
- Using one giant script: smaller sections are easier to retry and reorder.
- Trusting filenames alone: check that each MP3 actually contains the matching script.
- Ignoring voice licences: review the model card before commercial distribution.
- Rerunning everything: preserve a log and regenerate only changed or failed files.
Final checklist
- One UTF-8 TXT file per audio item.
- Numbered, Windows-safe filenames.
- One locked voice, speed, pause, and volume profile.
- Separate input, WAV, and MP3 folders.
- Consistent MP3 quality settings.
- A failure log that names the exact source file.
- A ten-file pronunciation and playback test.
- Model and voice licences checked.
Frequently asked questions
Can I convert TXT files to MP3 without uploading them?
Yes. A local engine can generate WAV files on your computer, and a local FFmpeg installation can convert them to MP3. After the software and voice model are installed, the scripts do not need to leave the PC.
Should I export WAV or MP3 first?
Export WAV first when you need reliable editing, normalization, or multiple delivery formats. Direct MP3 export is fine when the app already produces the exact quality and loudness you need.
How should I name batch voiceover files?
Use a zero-padded sequence plus a short label, such as 001-intro.mp3. Keep the same stem as the TXT source so a person can trace every audio file back to its script.
Why is a Piper batch slow?
Starting the CLI once for every file reloads the voice model each time. For larger recurring jobs, keep Piper’s local HTTP server running during the batch so the model stays loaded.
If you prefer a desktop workflow, see AI Text To Speech Generator Pro. For a custom Windows utility that watches a folder, applies naming rules, and records failures, see Windows app development.
