Real-ESRGAN Models Explained: Photo vs Anime vs General Upscaling

Real-ESRGAN models are not interchangeable. A model that looks good on a photo can make anime lines too soft, while an anime-focused model can create odd edges on a face or product shot.
The useful choice is simple: match the model to the image. Use a photo model for natural textures, an anime model for drawn lines and flat colors, and a general model when the source mixes several kinds of detail.
Quick comparison
| Source image | Good first choice | What to check |
|---|---|---|
| Camera photo | Photo model | Skin, hair, fabric, and small text should stay natural. |
| Anime or illustration | Anime model | Lines should stay clean without halos or doubled edges. |
| Mixed or unknown source | General model | Textures and outlines should both remain believable. |
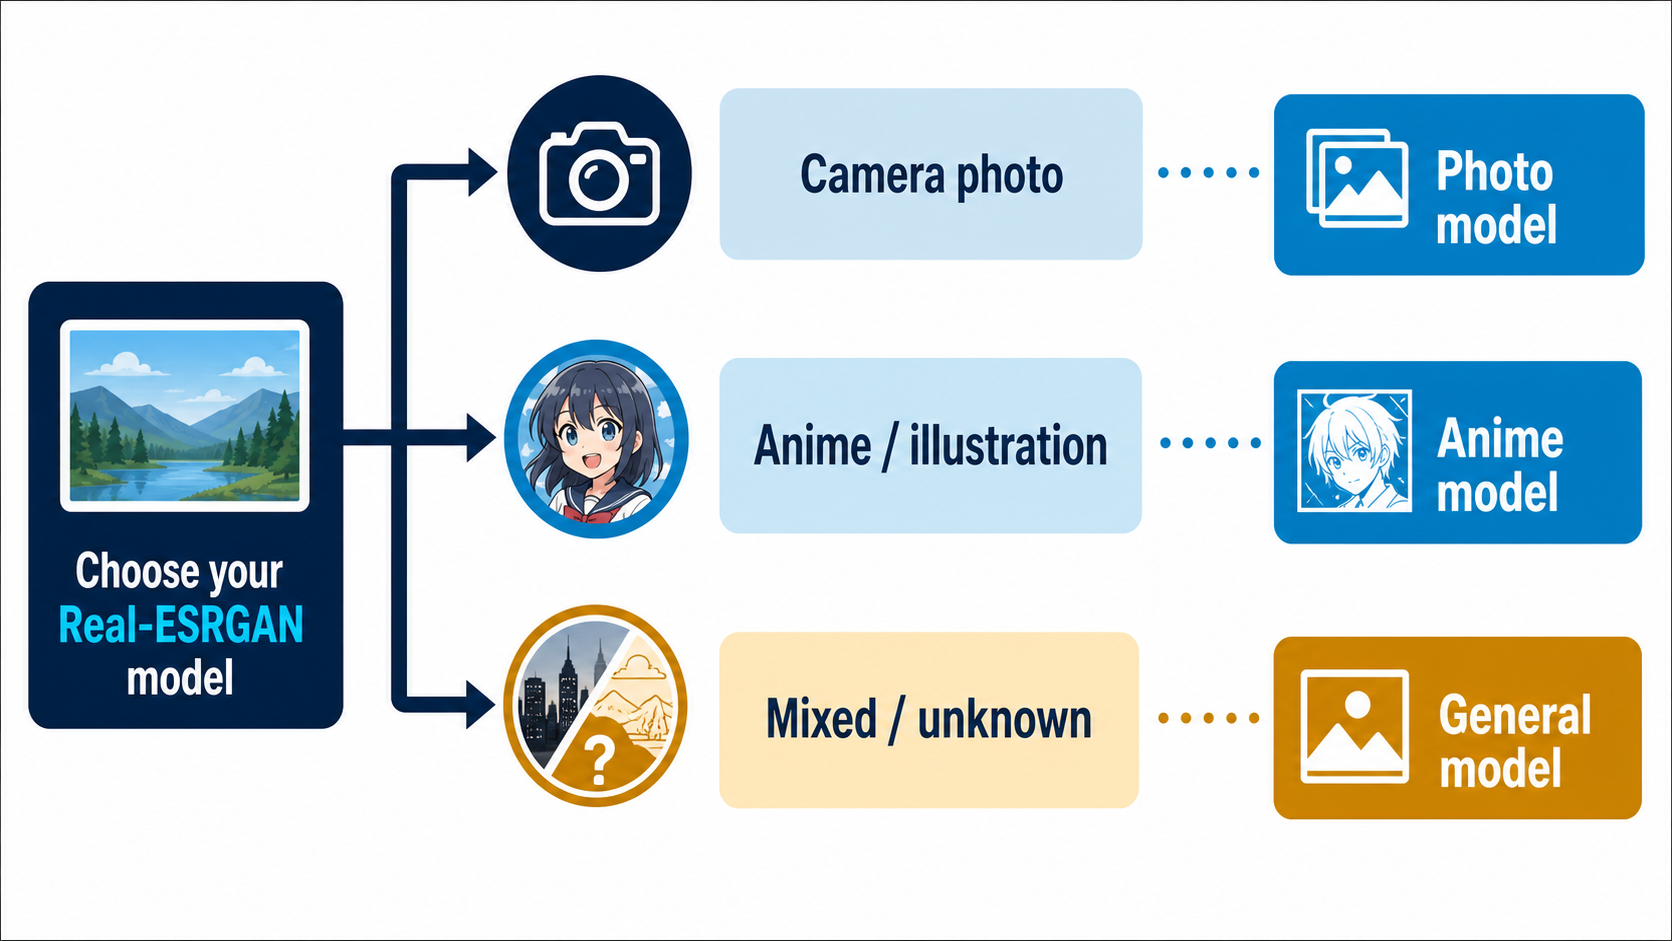
Photo models
Photo models are trained for natural scenes: faces, plants, buildings, fabric, and other camera detail. They usually make a sensible first test for old photos, screenshots of real objects, and product images.
Look closely at hair, skin, and repeating textures. If the model invents pores, sharpens JPEG blocks, or makes fabric look painted, lower the scale or try a different model.
Anime models
Anime models are aimed at drawn images with strong outlines, flat colors, and deliberate shading. They can keep line work cleaner than a photo model.
They are a poor default for ordinary photos. On a face or a room, they may simplify texture, exaggerate edges, or turn small details into graphic shapes.
General models
A general model is useful when the source is hard to classify: a game screenshot, a scan with both text and pictures, or an image that mixes illustration and real objects.
It is also a good baseline. Compare it with one specialised model instead of assuming the most specialised option must win.
How to compare models fairly
- Keep the same input, scale, and output format for every test.
- Crop three small areas: a face or texture, an edge or line, and any small text.
- Compare at 100% zoom, not only in a small preview.
- Check for halos, repeated patterns, melted detail, and invented text.
- Keep the version that looks more natural, even if it is less sharp.
Common mistakes
Upscaling does not recover detail that was never captured. A larger file can still contain a blurry face or unreadable text. It also helps to keep the original beside every test so a sharper result does not automatically seem better.
Bottom line
Start with the model that matches the source: photo for camera images, anime for drawn line work, and general for mixed material. Test the same crop with the same settings, then choose the result with the fewest strange edges and invented details.

Writes guides and product notes for Bytesweavers.