How to Colorize Old Black-and-White Photos on iPhone (Offline, Before Diwali)
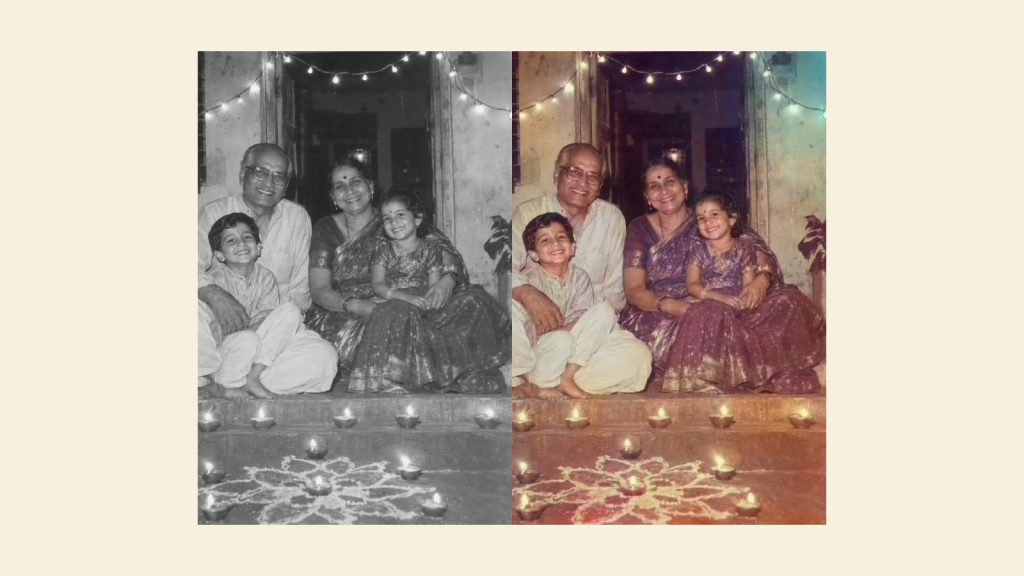
Dhanteras falls on Friday 6 November this year, and Diwali follows on 8 November. It is the week when old family photos come out of drawers and albums, and most of them are black and white, faded or a little soft. This guide shows how to turn one of those prints into a colour image on an iPhone without uploading it anywhere, and how to get a better result by preparing the photo properly first.
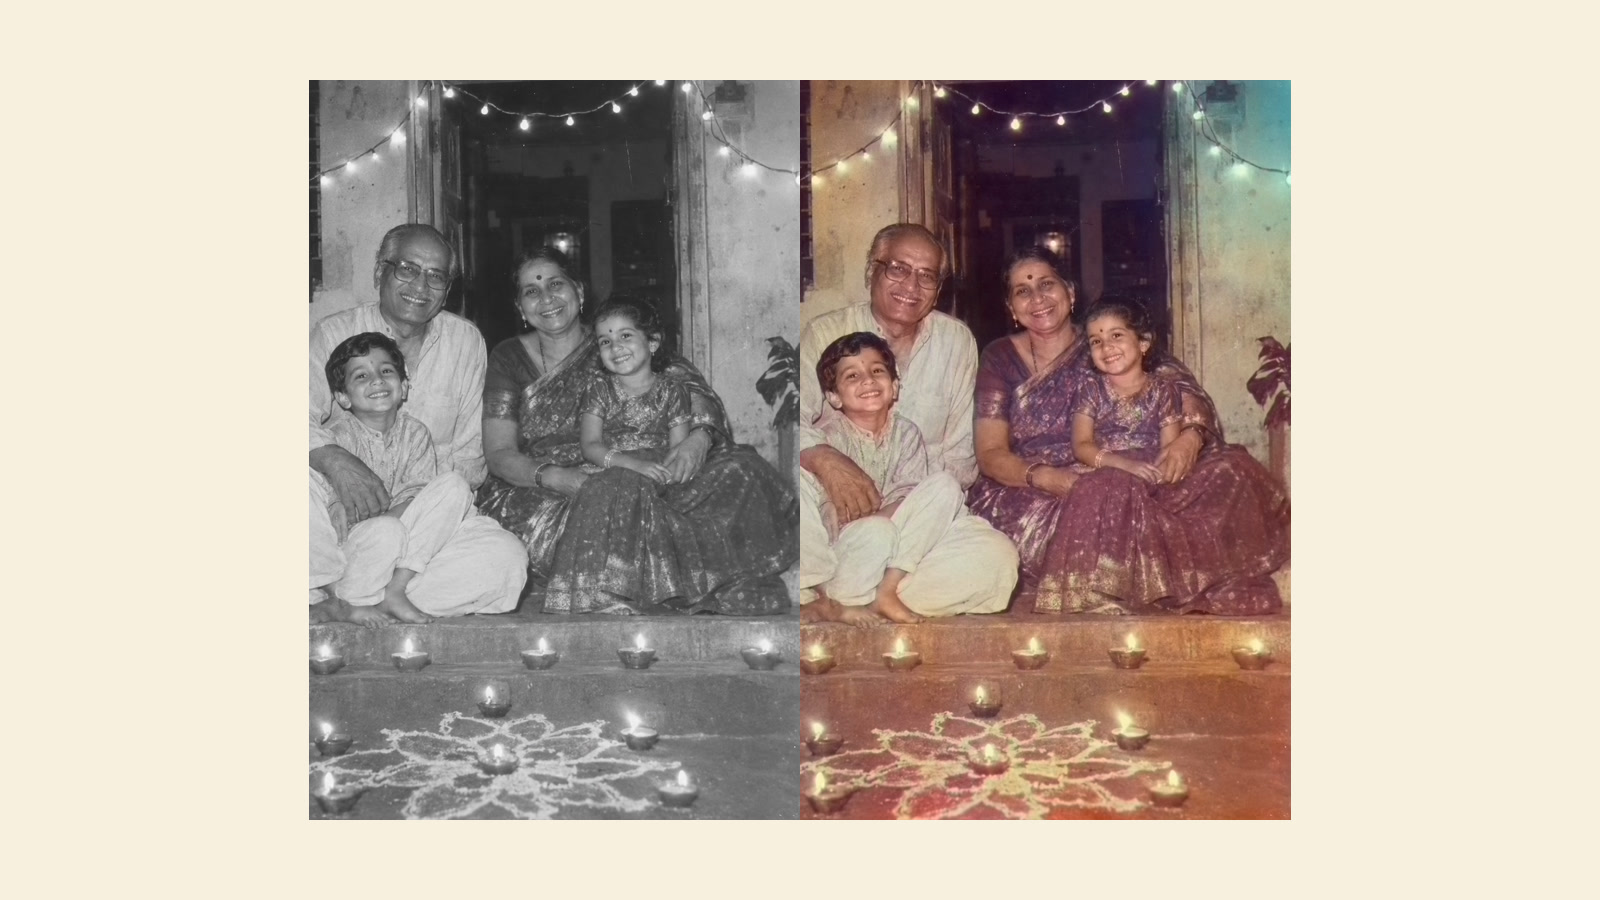
What you need
- An iPhone with a photo of the old print (a scan or a careful phone picture)
- Offline Photo Restorer, the iOS app we used for this test
- About two minutes per photo
Step 1: Get a clean copy of the old photo
The colour result is only as good as the starting image. Whether you scan the print or photograph it, a few habits make a visible difference:
- Place the print flat on a plain surface in soft daylight. Avoid flash, which creates a bright glare spot in the middle of glossy paper.
- Hold the phone directly above the print so the edges stay straight, and fill the frame.
- Wipe off dust first with a dry, soft cloth. Do not rub or use liquids on old paper.
- Take two or three shots and keep the sharpest one. Always keep the original print safe.
Step 2: Colorize it in the app
- Open Offline Photo Restorer. On the home screen, choose the Colorize workflow instead of Repair.
- Leave the neural colour engine on Classic Color (it uses the ECCV16 Core ML model bundled in the app).
- Tap Photos and pick your picture.
- The app runs the colourisation on the phone. A progress bar shows while it works.
- Drag the divider across the photo to compare the original with the new colours.
- Use the Color and Warmth sliders if the result feels too strong or too cold, then save the photo.
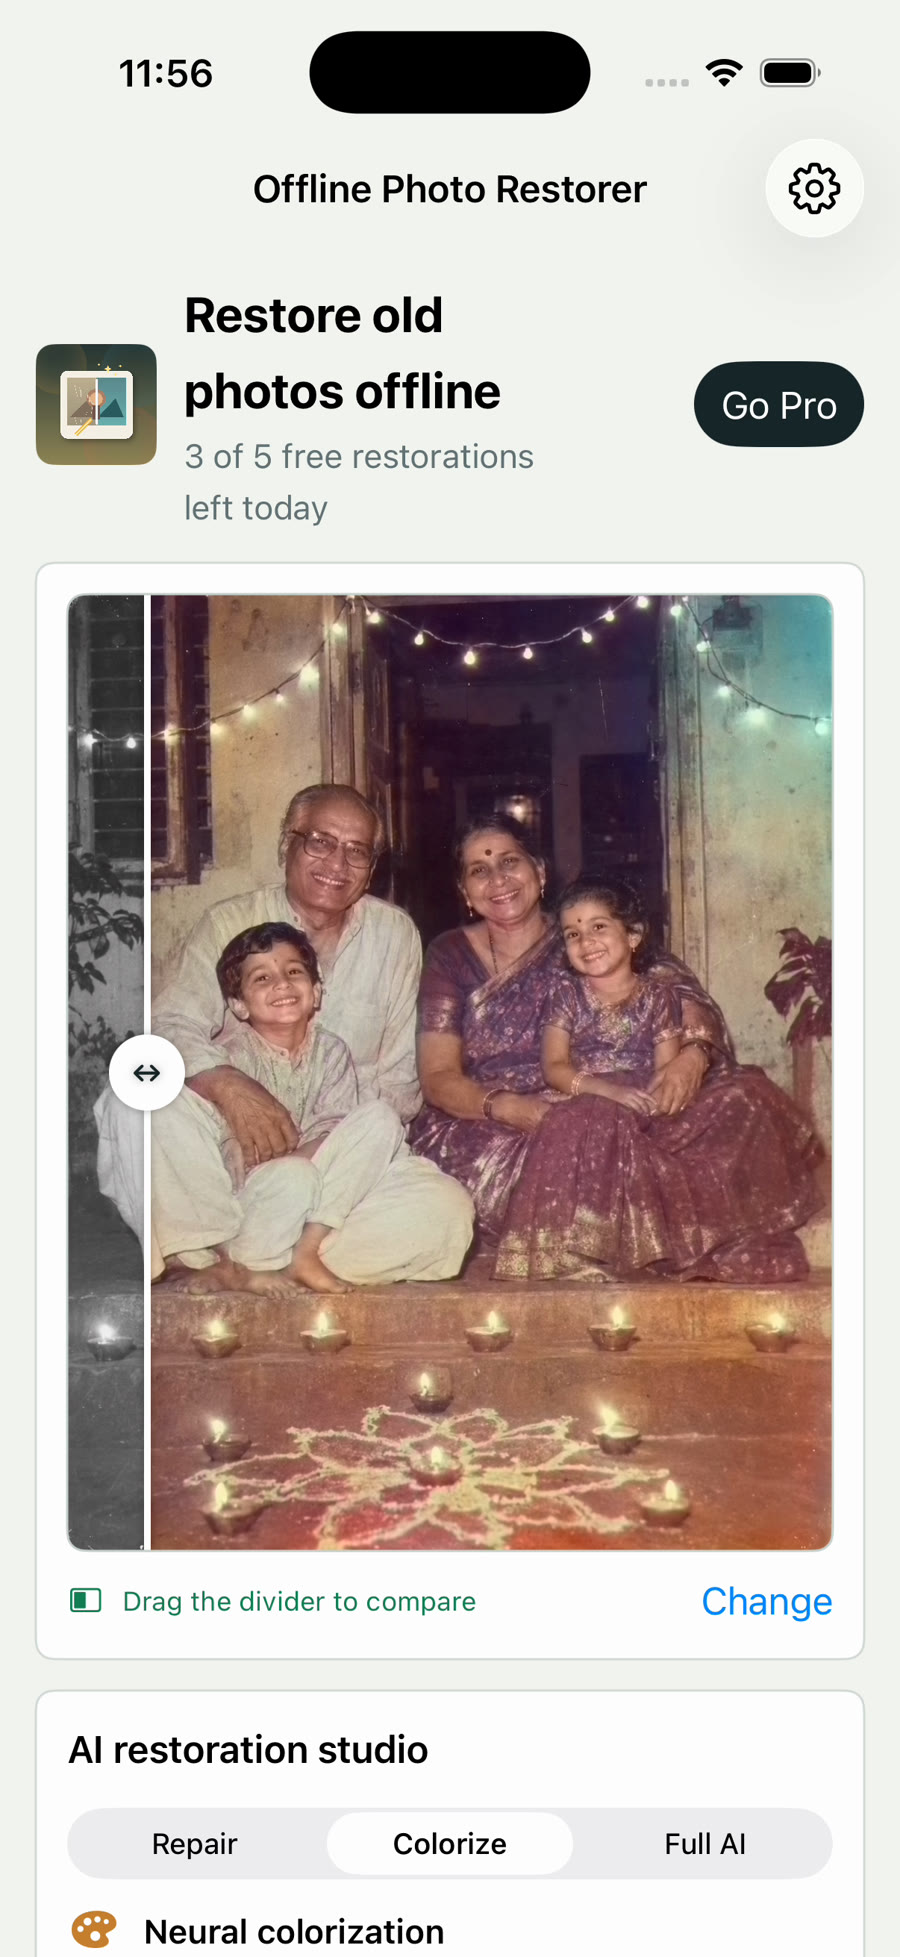
The version we tested showed five free restorations per day on the home screen. Check the app listing for current limits and Pro features, because they can change.
What the colours really mean
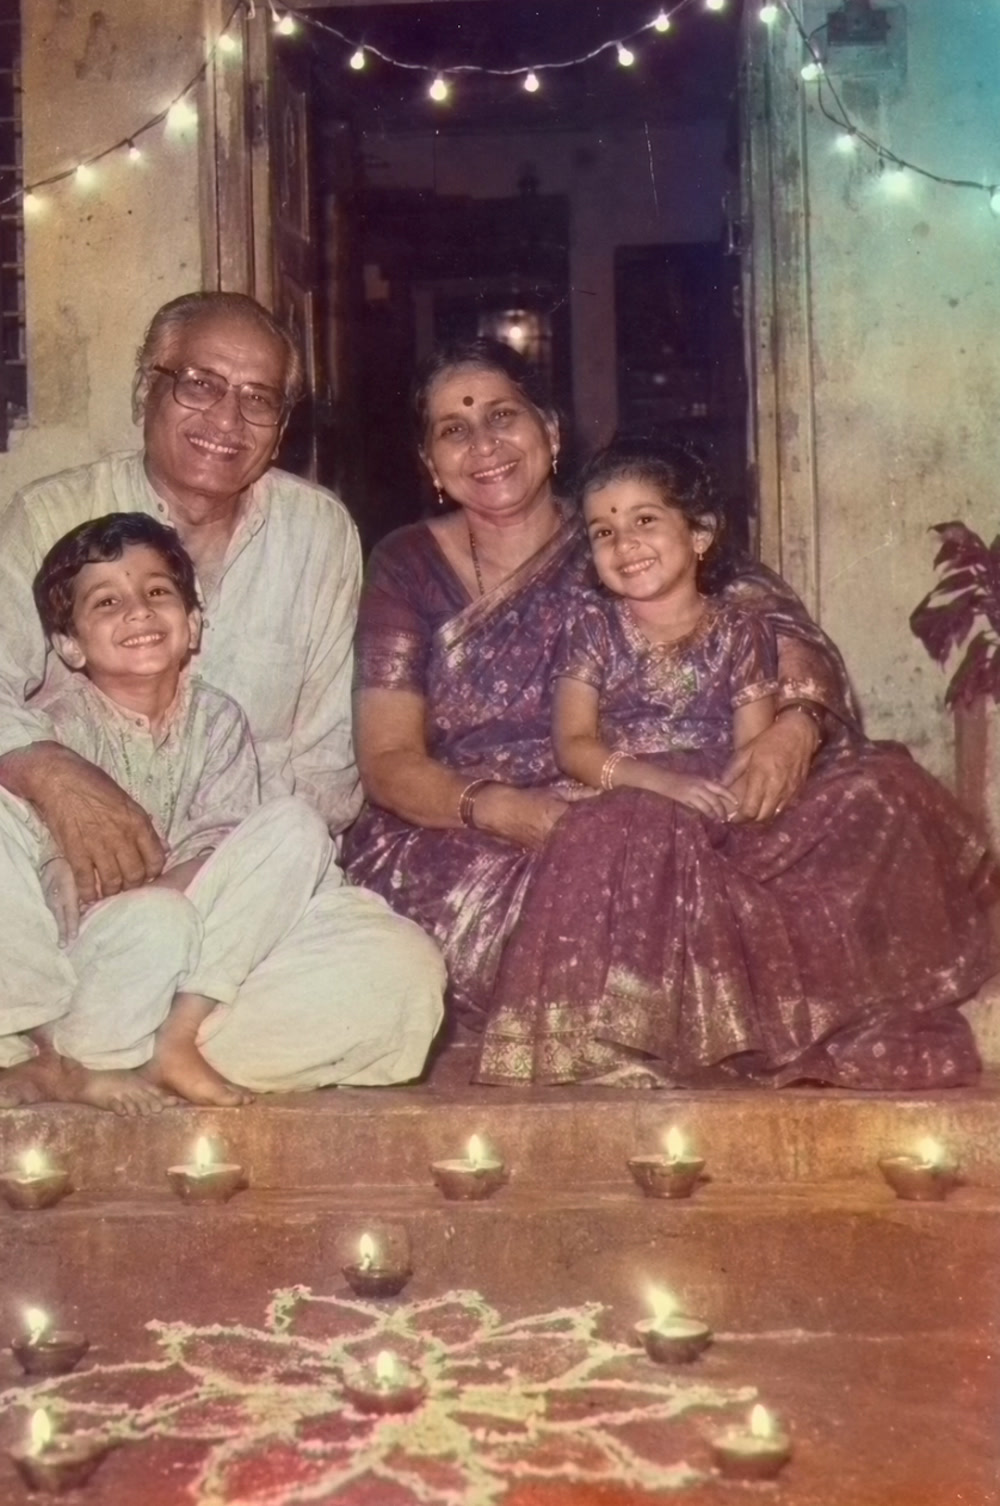
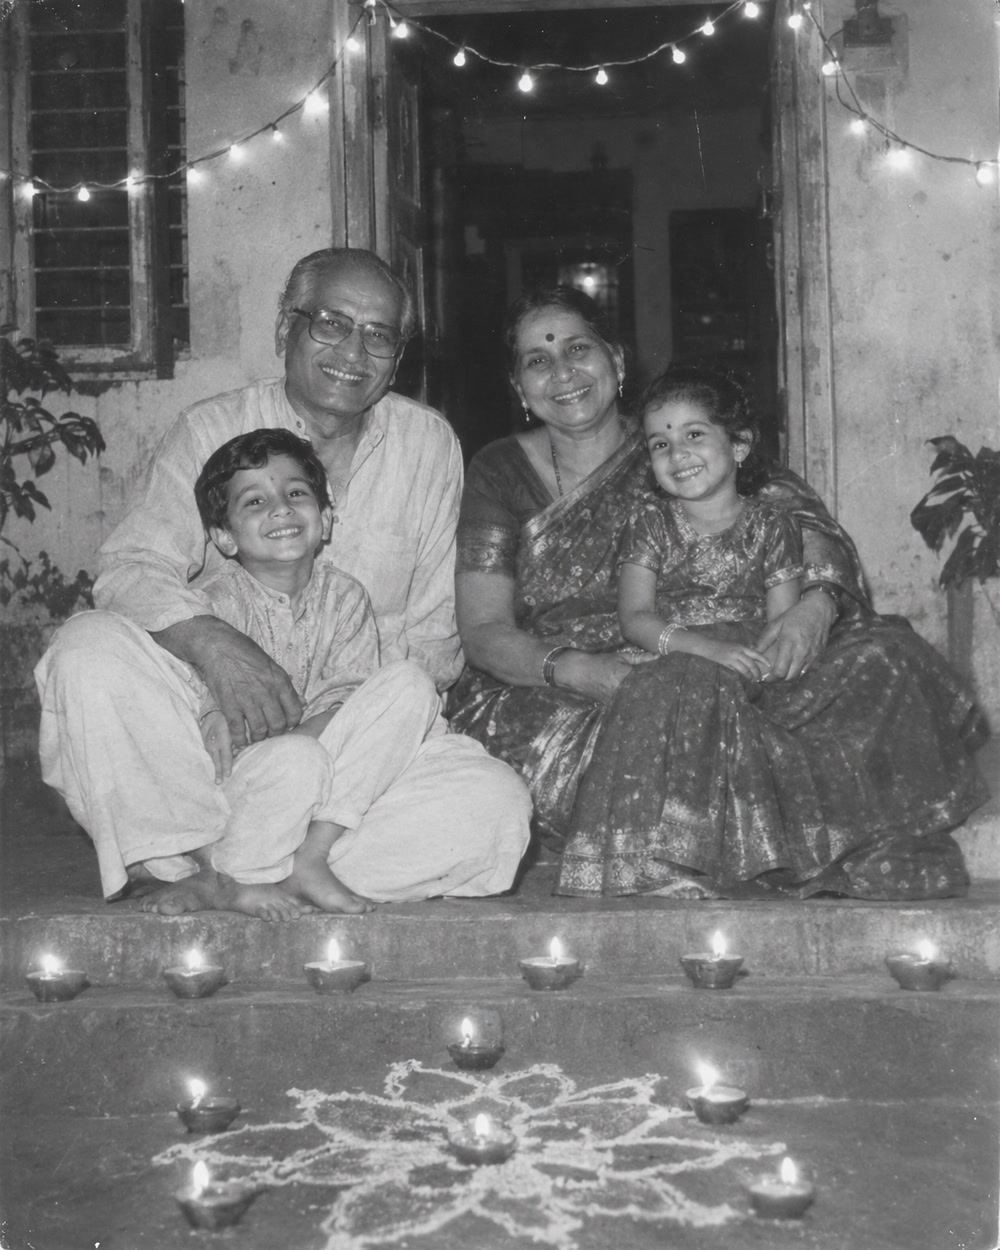
This is the part most guides skip. A black-and-white photo does not contain colour information, so any colourising tool is making an educated guess based on what it has learned from other pictures. In our test the saree came out as a believable purple and the diyas glowed warm, but some background areas picked up a slightly teal tint. The app itself says the colours are estimates, and that is the right way to read them.
Treat the result as a way to feel closer to the moment, not as a record of what people actually wore. If an elder in the family remembers the real colours, ask them, and use the Color and Warmth sliders to move the photo towards that memory.
Make it a Diwali family project
- Ask your parents or grandparents which photos they would most like to see in colour, and what they remember about that day.
- Write the names, year and place on the back of the original print or in the photo’s notes before you edit anything.
- Save the colour version as a new image so the original scan stays untouched.
- Print the best one for the puja room or share it with relatives who live far away.
About this test
The family photo in this article is AI-generated and was created for this demonstration. It does not show a real family. The app run was recorded in the iPhone Simulator rather than on a physical iPhone, and results vary from photo to photo. If you prefer a short demo, we also posted an 18-second walkthrough on YouTube Shorts: Old Diwali photo? Turn it into colour on your iPhone (offline).
Offline Photo Restorer is available on the App Store: Offline Photo Restorer for iPhone.

Writes guides and product notes for Bytesweavers.