
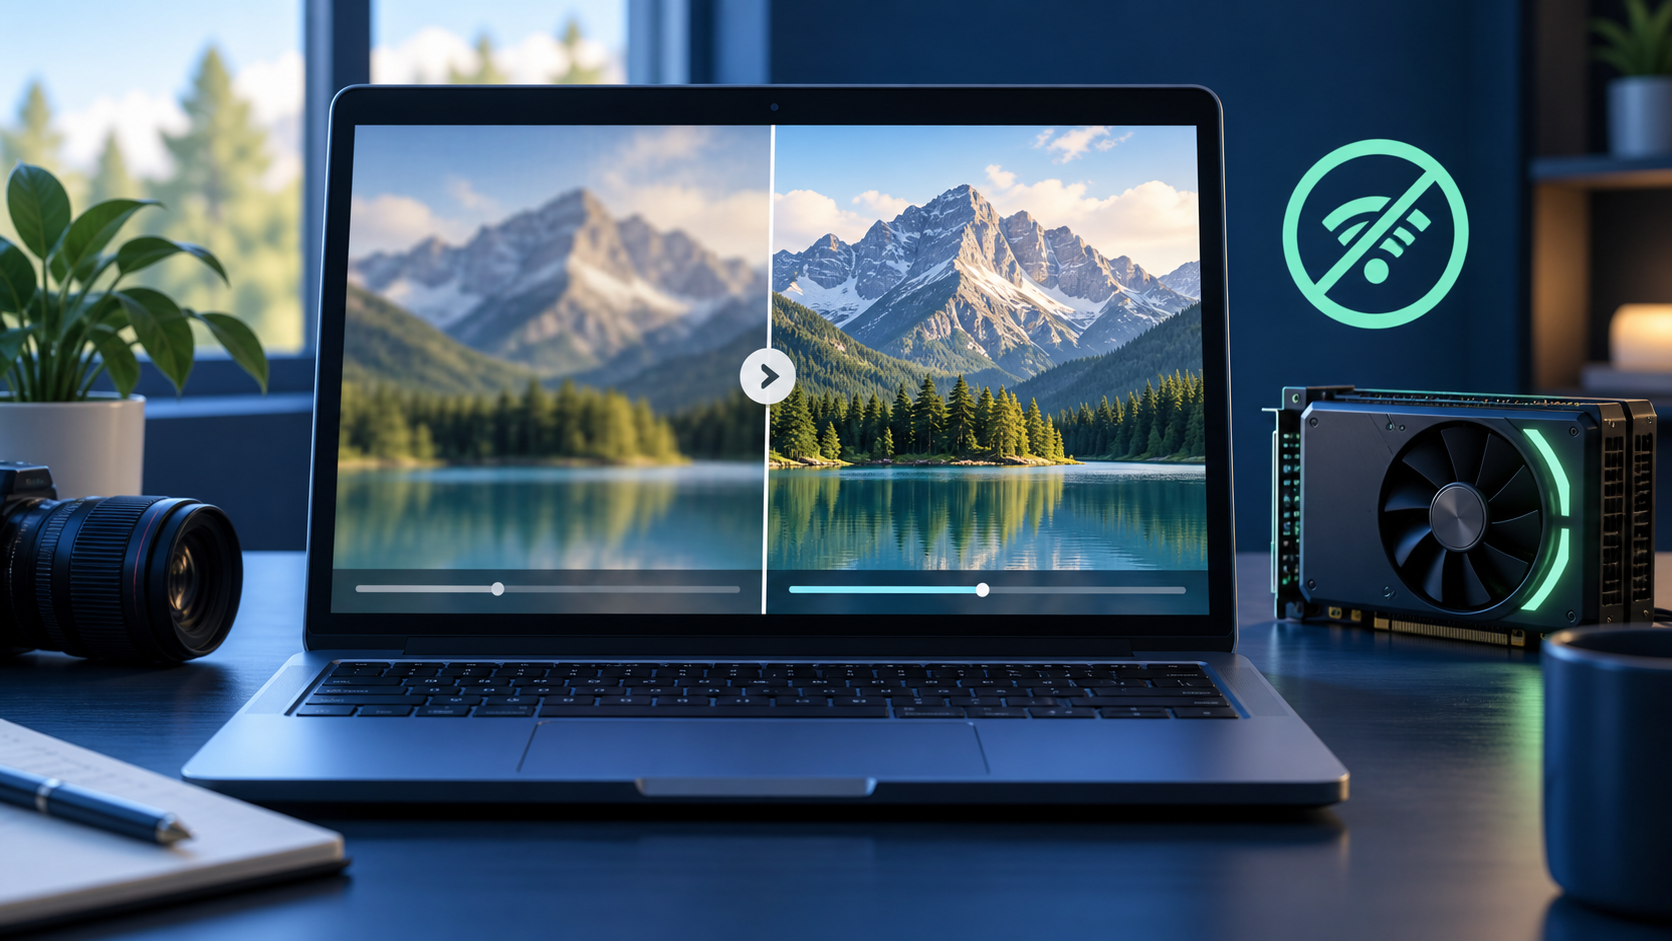
An offline video upscaler for Windows can help when old home videos, low-resolution memes, drone clips, or cheap stock footage look rough in a larger project. A 480p clip may seem fine in a small preview and become distracting once it sits inside a 4K edit.
The usual answer is an online upscaler or a large desktop suite. That can work, but it raises two practical questions: where does the footage go, and what will the workflow cost over time?
Why people look for an offline video upscaler
Topaz Video is a serious tool, and it is good at difficult restoration work. Its official pricing currently lists a $299 annual plan for the individual desktop app. That can make sense for a studio that uses it every week. It is a bigger decision for a freelancer, hobby editor, or someone who only needs to clean up a few clips.
Cloud services add another tradeoff. You upload the file, wait for a server to process it, and often pay by subscription, credits, or export. Private client footage and family videos deserve more care than “upload and hope.”
How to choose an offline video upscaler
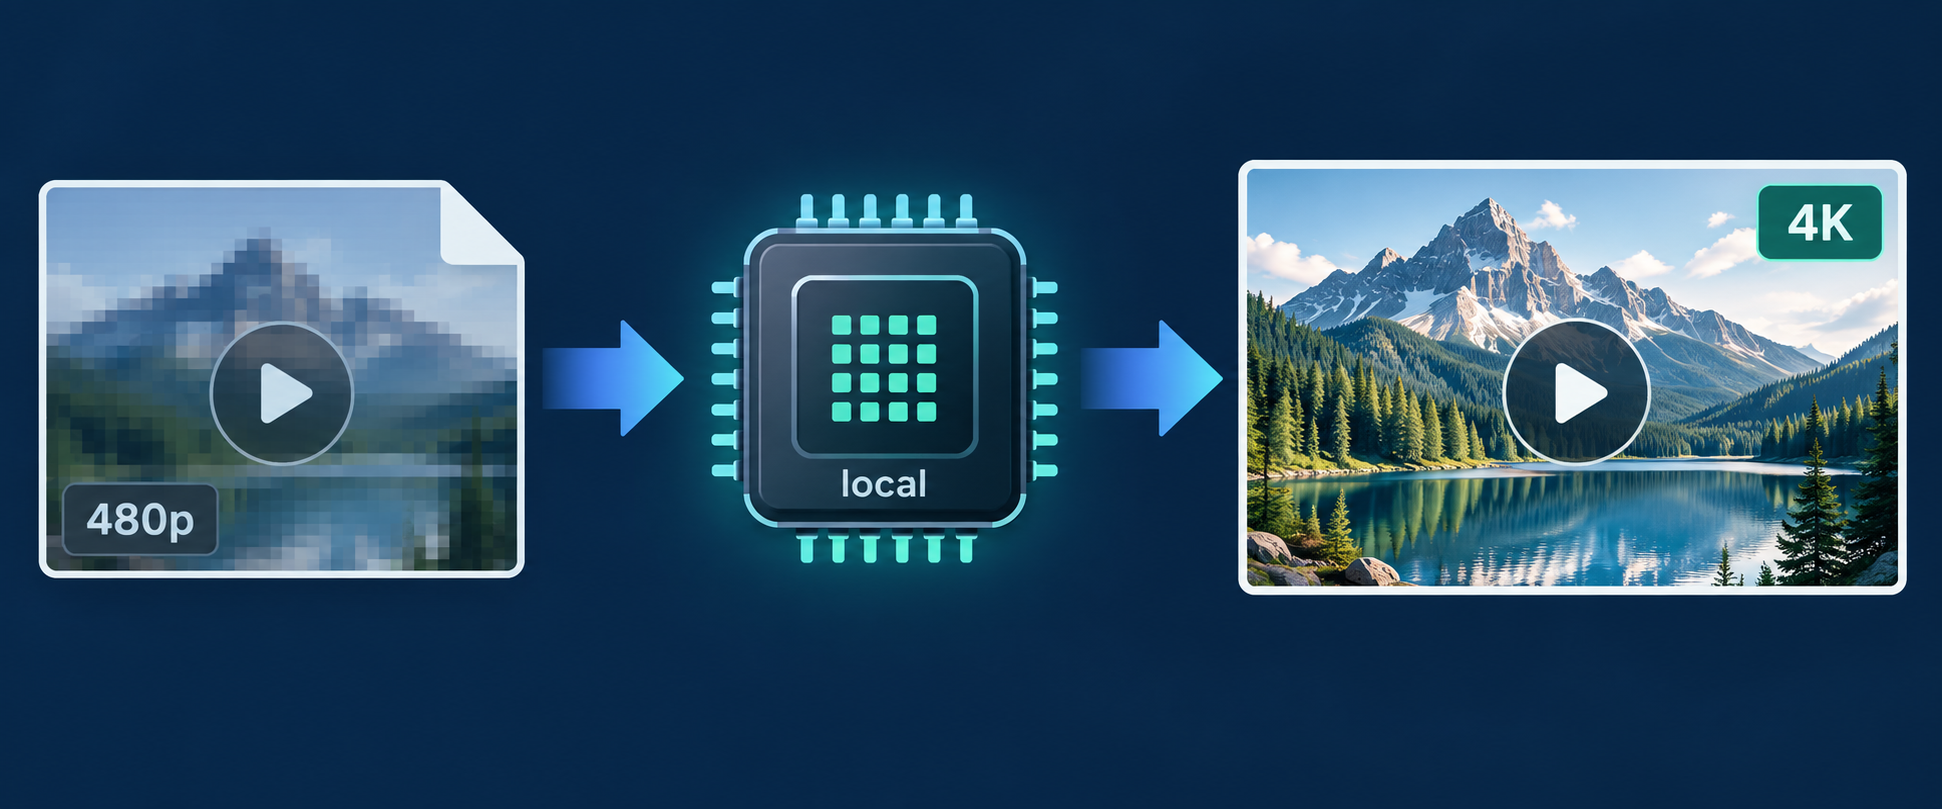
Bytesweavers AI Video Upscaler Pro is a Windows app built around local processing. It uses the GPU available on the PC and keeps the source video on that machine. The app supports 2x and 4x enhancement, with DirectML or CUDA paths depending on the hardware and setup.
Local processing does not create detail that was never captured. It can make edges cleaner, reduce compression damage, and produce a more useful enlarged frame. A badly crushed clip will still have limits. The useful promise is control and privacy, not magic.
How to upscale a video on Windows
1. Download the app
Open the AI Video Upscaler Pro page in the Microsoft Store. It is free to download, with premium workflows available in the app.
2. Import the video
Open the app and add the clip you want to improve. Start with a short sample if you are unsure about the result. A ten-second test is enough to compare faces, text, motion, and edges before you process a longer file.
3. Choose 2x or 4x
Use 2x when the final project only needs a moderate size increase. Use 4x when the source is very small and the destination really needs more pixels. Bigger is not automatically better. Check the result at the size where it will actually be watched.
4. Start processing
Choose the output location and start the job. Processing time depends on the clip, model, output size, and GPU. Keep the original file. Treat the enlarged copy as a new version that you can compare and replace if the result is not right.
What to check before you export
Look at small text, faces, hair, fast movement, and hard edges. Upscaling can make an image look sharper while also inventing a detail that was not there. If a scoreboard, label, or logo matters, compare it against the original frame.
Also check the audio. A good video workflow should preserve the original track unless you choose to replace it. Make sure the export opens correctly before deleting anything.
When a cloud tool still makes sense
Cloud processing can still be useful when you are away from your workstation, when a team needs a shared queue, or when a particular model is not available on your hardware. The choice is not local versus cloud for every job. It is about matching the path to the footage. For sensitive client work, local processing keeps the first test simple: the file stays in the project folder and the editor can review the result without adding another service to the chain.
For routine social clips, speed may matter more than privacy. For archive footage, control and repeatability may matter more. Keep both options available and make the decision per project.
Offline video upscaler checklist
Local processing avoids a cloud upload and recurring server queue, but it still uses the computer’s time, memory, storage, and power. A weak GPU may need patience. A strong GPU may finish quickly. The honest way to choose is to test one representative clip on the hardware you already own.
If your work is private, your budget is limited, or you just want a simple Windows workflow, an local upscaler is worth testing. Download the app, run a short clip, compare the result at its real viewing size, and keep the version that helps the edit.
Video tutorial: Sai’s tutorial can be embedded here once its public YouTube URL is available. The supplied NarratedReel.mp4 is the short before/after campaign reel, not a long tutorial.
