
Short answer: remove room echo from a podcast by reducing the reverb gently, not by trying to make the recording completely dry. Save the original, listen to the room tone, apply a light dereverb pass, then check the voice for metallic or watery artifacts before you denoise, EQ, and export. If the echo is strong, a smaller improvement that keeps the words natural is better than an aggressive setting that makes the host sound synthetic.
Room echo is usually caused by hard walls, a desk, a bare floor, or a microphone placed too far from the speaker. It cannot always be removed perfectly after recording, but a careful offline cleanup can make speech easier to follow. This guide covers a practical workflow for a recorded podcast, interview, or voice note on Windows.
Echo, reverb, and background noise are different
People often call every bad-sounding room “noise,” but the fixes are different. A steady fan or air-conditioner is background noise. A hollow tail after each word is room reverb. A distinct repeat is an echo. A denoiser is useful for the first problem, while a dereverb tool is meant for the second. Neither tool can reliably rebuild a recording where another person’s voice overlaps the speaker.
Listen to the gaps between sentences. If the room seems to answer the voice, especially on words with hard consonants, start with dereverb. If the gaps are mostly steady hiss or hum, start with noise reduction. Treating both problems as one slider often produces a thin, phasey result.
Before you process the recording
- Keep an untouched copy of the original WAV, M4A, or high-bitrate source.
- Work on a short 20–30 second section that contains speech, a pause, and a longer sentence.
- Use headphones first, then check the result on ordinary speakers.
- Note the worst problem: hollow room, repeated reflections, hiss, hum, or competing speech.
- Do not judge the waveform alone. Echo can look small while remaining obvious to the ear.
A short test saves time. If the processed sample already sounds metallic, running the same aggressive setting over a one-hour interview will only make the problem harder to fix.
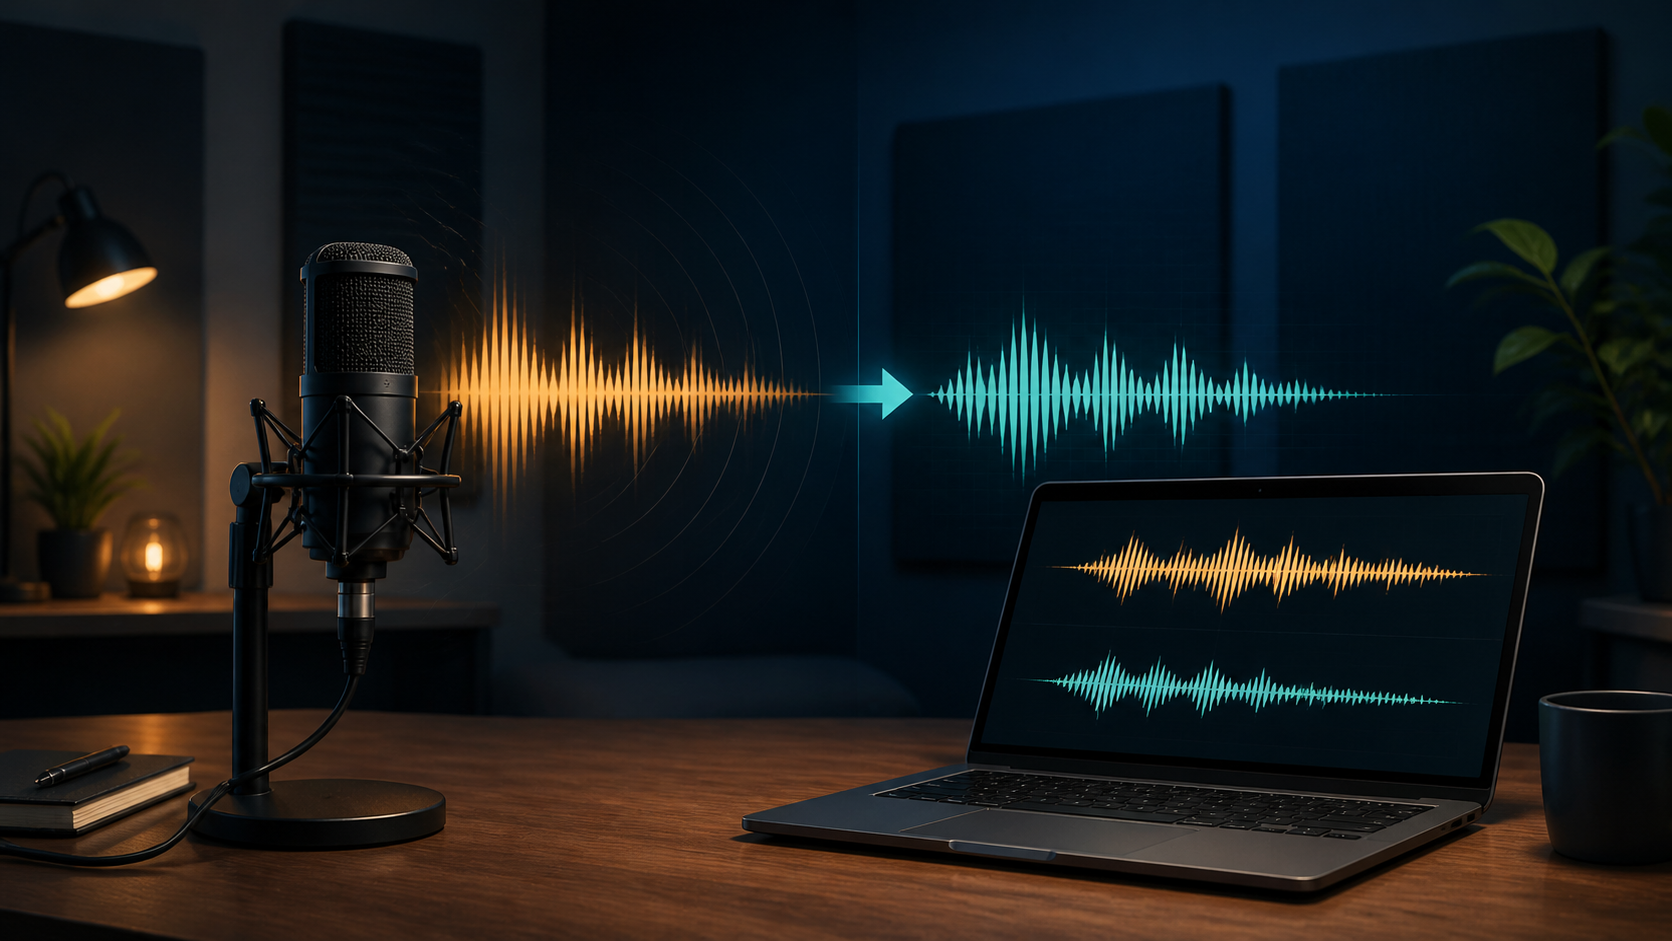
A safe room-echo cleanup order
The order matters because each process changes what the next one hears. Use this sequence for a first pass:
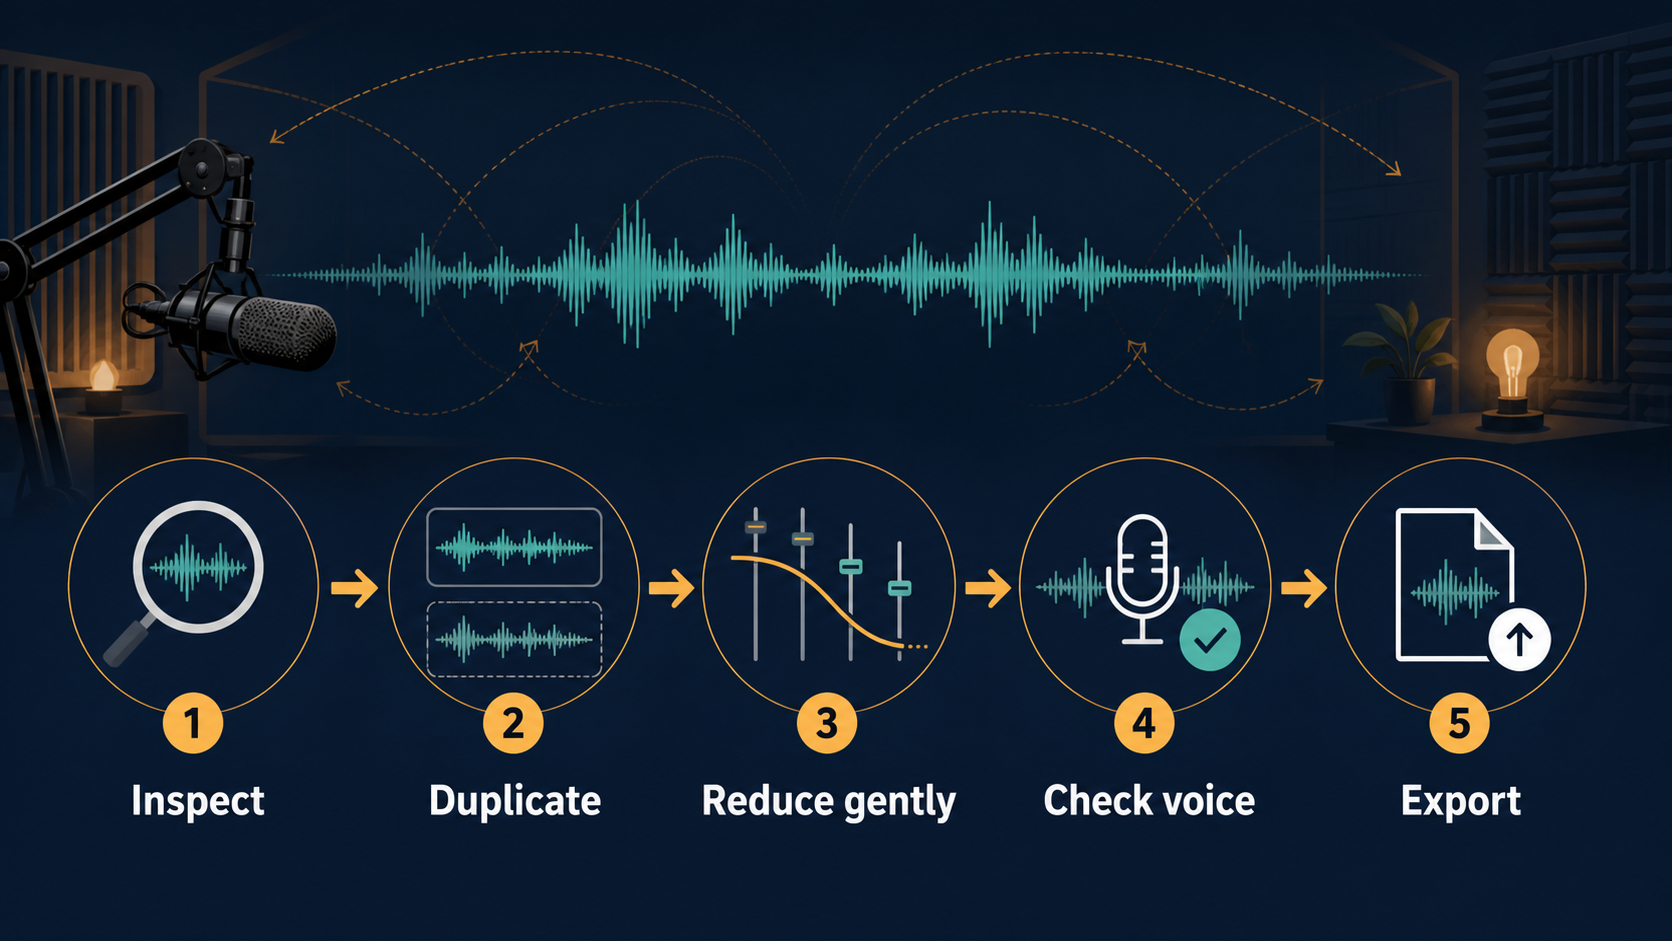
1. Inspect the room tone
Find a section where nobody speaks. Listen for a short slap, a long tail, air-conditioner noise, or a low electrical hum. Also listen to the first word after a pause. If it sounds like it starts inside a tunnel, the room reflections are probably the main issue.
2. Duplicate the source
Make a working copy before you touch the audio. A useful naming pattern is episode-12-raw.wav, episode-12-dereverb-test.wav, and episode-12-master.wav. This makes it easy to compare a new setting with the original instead of trusting memory.
3. Reduce echo gently
Start with the lightest dereverb or voice-isolation setting that makes the room less obvious. Increase it in small steps and pause between changes. The goal is not silence around the voice. The goal is to shorten the reflected tail while keeping vowels, breaths, and sibilants believable.
On a difficult recording, process a short sample at three strengths: light, medium, and strong. Label the files and compare them at the same listening volume. Medium often sounds better than strong once you hear the artificial artifacts.
4. Check the voice before adding more processing
Read or replay a few difficult phrases. Watch for a metallic edge, watery movement, missing “s” sounds, and a voice that seems to change size from word to word. These are signs that the model is removing parts of the speech along with the room. If they appear, undo the last increase and keep the milder pass.
5. Export a review copy
Do not overwrite the master on the first export. Listen to the opening, a busy middle section, and the closing. Check the processed file on headphones and speakers. A setting that sounds clean in isolation may become tiring over ten minutes.
Where noise reduction and EQ fit
After dereverb, remove steady background noise only if it is still distracting. Use a small amount first. Strong denoise can exaggerate the same watery artifacts as strong dereverb, especially when the voice is quiet.
EQ can help the cleaned voice sit better, but it cannot remove the original reflections. A gentle high-pass filter may reduce desk rumble or handling noise. A small cut in a muddy low-mid area can help, but use the untreated voice as the reference. Boosting the high end to “add clarity” can make the room tail and sibilance more obvious.
For a simple spoken-word chain, try: light dereverb, light denoise if needed, a conservative high-pass filter, then loudness adjustment. If the recording is already bright or thin, skip the clarity boost.
Common failure cases
- Strong reverb: a tool may reduce the tail but cannot recover the original dry voice perfectly. Keep expectations realistic.
- Overlapping speakers: dereverb can damage both voices when they share the same time range. Edit or isolate the overlap separately.
- Music under speech: process the dialogue stem if possible. Cleaning the final stereo mix can make the music pump or sound dull.
- Clipped input: distortion from recording too loud is not room echo. Lowering the level will not restore clipped peaks.
- Changing microphone distance: a speaker who moves toward and away from the mic may need clip-by-clip treatment instead of one global setting.
How to prevent room echo next time
Prevention is usually more reliable than repair. Move the microphone closer, keep it aimed at the speaker, and avoid pointing it at a bare wall. Soft furnishings, curtains, rugs, and a bookshelf can reduce reflections. Record a ten-second test and listen on headphones before starting the full interview.
Keep the microphone away from the desk when possible, use a stable stand, and ask the speaker to keep a consistent distance. A quiet room with a close microphone usually beats a large room with an expensive microphone placed far away.
Practical checklist
- Save the original recording.
- Find a short section with speech and room tone.
- Confirm that the main problem is reverb, not just hiss or hum.
- Test light, medium, and strong dereverb on the same sample.
- Keep the lightest setting that reduces the room without metallic artifacts.
- Apply denoise and EQ only when they solve a specific remaining problem.
- Listen to the opening, middle, and closing on two playback systems.
- Export a new master and keep the raw file untouched.
Final recommendation
Room echo is easier to manage when you treat it as a restraint problem, not a maximum-cleanup problem. Start with a short test, use gentle dereverb, and stop as soon as the voice becomes easier to understand. For private Windows work, keep the recording local from the first test through the final export.
If you need a local tool for this workflow, see Podcast Audio Noise Remover. For removing long pauses after the room cleanup, see AI Audio Silence Remover Pro.
Frequently asked questions
Can room echo be removed completely?
Usually not. The result depends on the room, microphone distance, overlap, and recording quality. A natural partial reduction is often better than a complete-sounding but artificial voice.
Should I use noise reduction before dereverb?
Start with the problem that is most obvious. For a hollow room, test dereverb first. If steady hiss or hum is masking the voice, a light noise pass may help before dereverb. Always compare short samples.
Why does my cleaned voice sound robotic?
The setting may be too strong, or the recording may not contain enough clean speech for the tool to separate voice from reflections. Reduce the strength, work on smaller sections, and keep some room tone instead of forcing a completely dry result.
